

By Rebecca Murray
When I opened the Canadian Army Recipe Book, I didn’t just look for sweets—my eyes also landed on a variety of savoury recipes for breads, meat pies, and salads. Enter the Jellied Vegetable Salad!
Cover of the Canadian Army Recipe Book, published by the Department of National Defence,1961 (OCLC 299227447).
You might recognize jellied or layered salads from TV programs like That ‘70s Show or How I Met Your Mother. Or maybe you’ve had the “pleasure” of experiencing them firsthand at home. When I was invited to a family barbeque this past summer, I decided it was the perfect occasion to prepare this Jellied Vegetable Salad. But first, I had to assemble the ingredients and get cooking! Yes, you read that right—this salad involves actual cooking, which isn’t always fun in the summer heat, but it’s essential for pulling off this recipe!
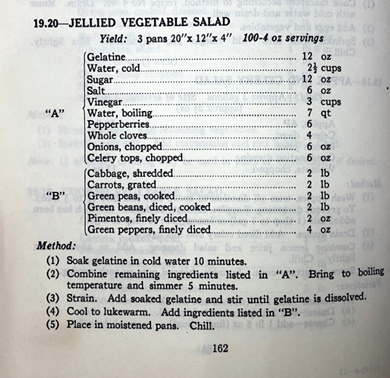
Recipe for Jellied Vegetable Salad from the Canadian Army Recipe Book (OCLC 299227447).
Because the original recipe was meant to feed a crowd, I had to adjust the quantities—time to do some math! This time, I took my own advice and measured MANY times before cooking.
| Ingredient | Original quantity (full) | Adjusted quantity (quarter) |
| Gelatin | 12 oz. | 3 oz. (90 ml) |
| Water, cold | 2.5 cups | 0.625 cups (150 ml) |
| Sugar | 12 oz. | 3 oz. (90 ml) |
| Salt | 6 oz. | 1.5 oz. (45 ml) |
| Vinegar | 3 cups | 3/4 cups (180 ml) |
| Water, boiling | 7 qt. | 1.75 qt. or 7 cups (1.75 L) |
| Pepperberries | 6 | 1.5 |
| Whole cloves | 4 | 1 |
| Onions, chopped | 6 oz. | 1.5 oz. (45 ml) |
| Celery tops, chopped | 6 oz. | 1.5 oz. (45 ml) |
| Cabbage, shredded | 2 lb. | 1/2 lb. (250 g) |
| Carrots, grated | 2 lb. | 1/2 lb. (250 g) |
| Green peas, cooked | 2 lb. | 1/2 lb. (250 g) |
| Green beans, diced, cooked | 2 lb. | 1/2 lb. (250 g) |
| Pimentos, finely diced | 2 oz. | 1/2 oz. (15 ml) |
| Green peppers, finely diced | 4 oz. | 1 oz. (30 ml) |
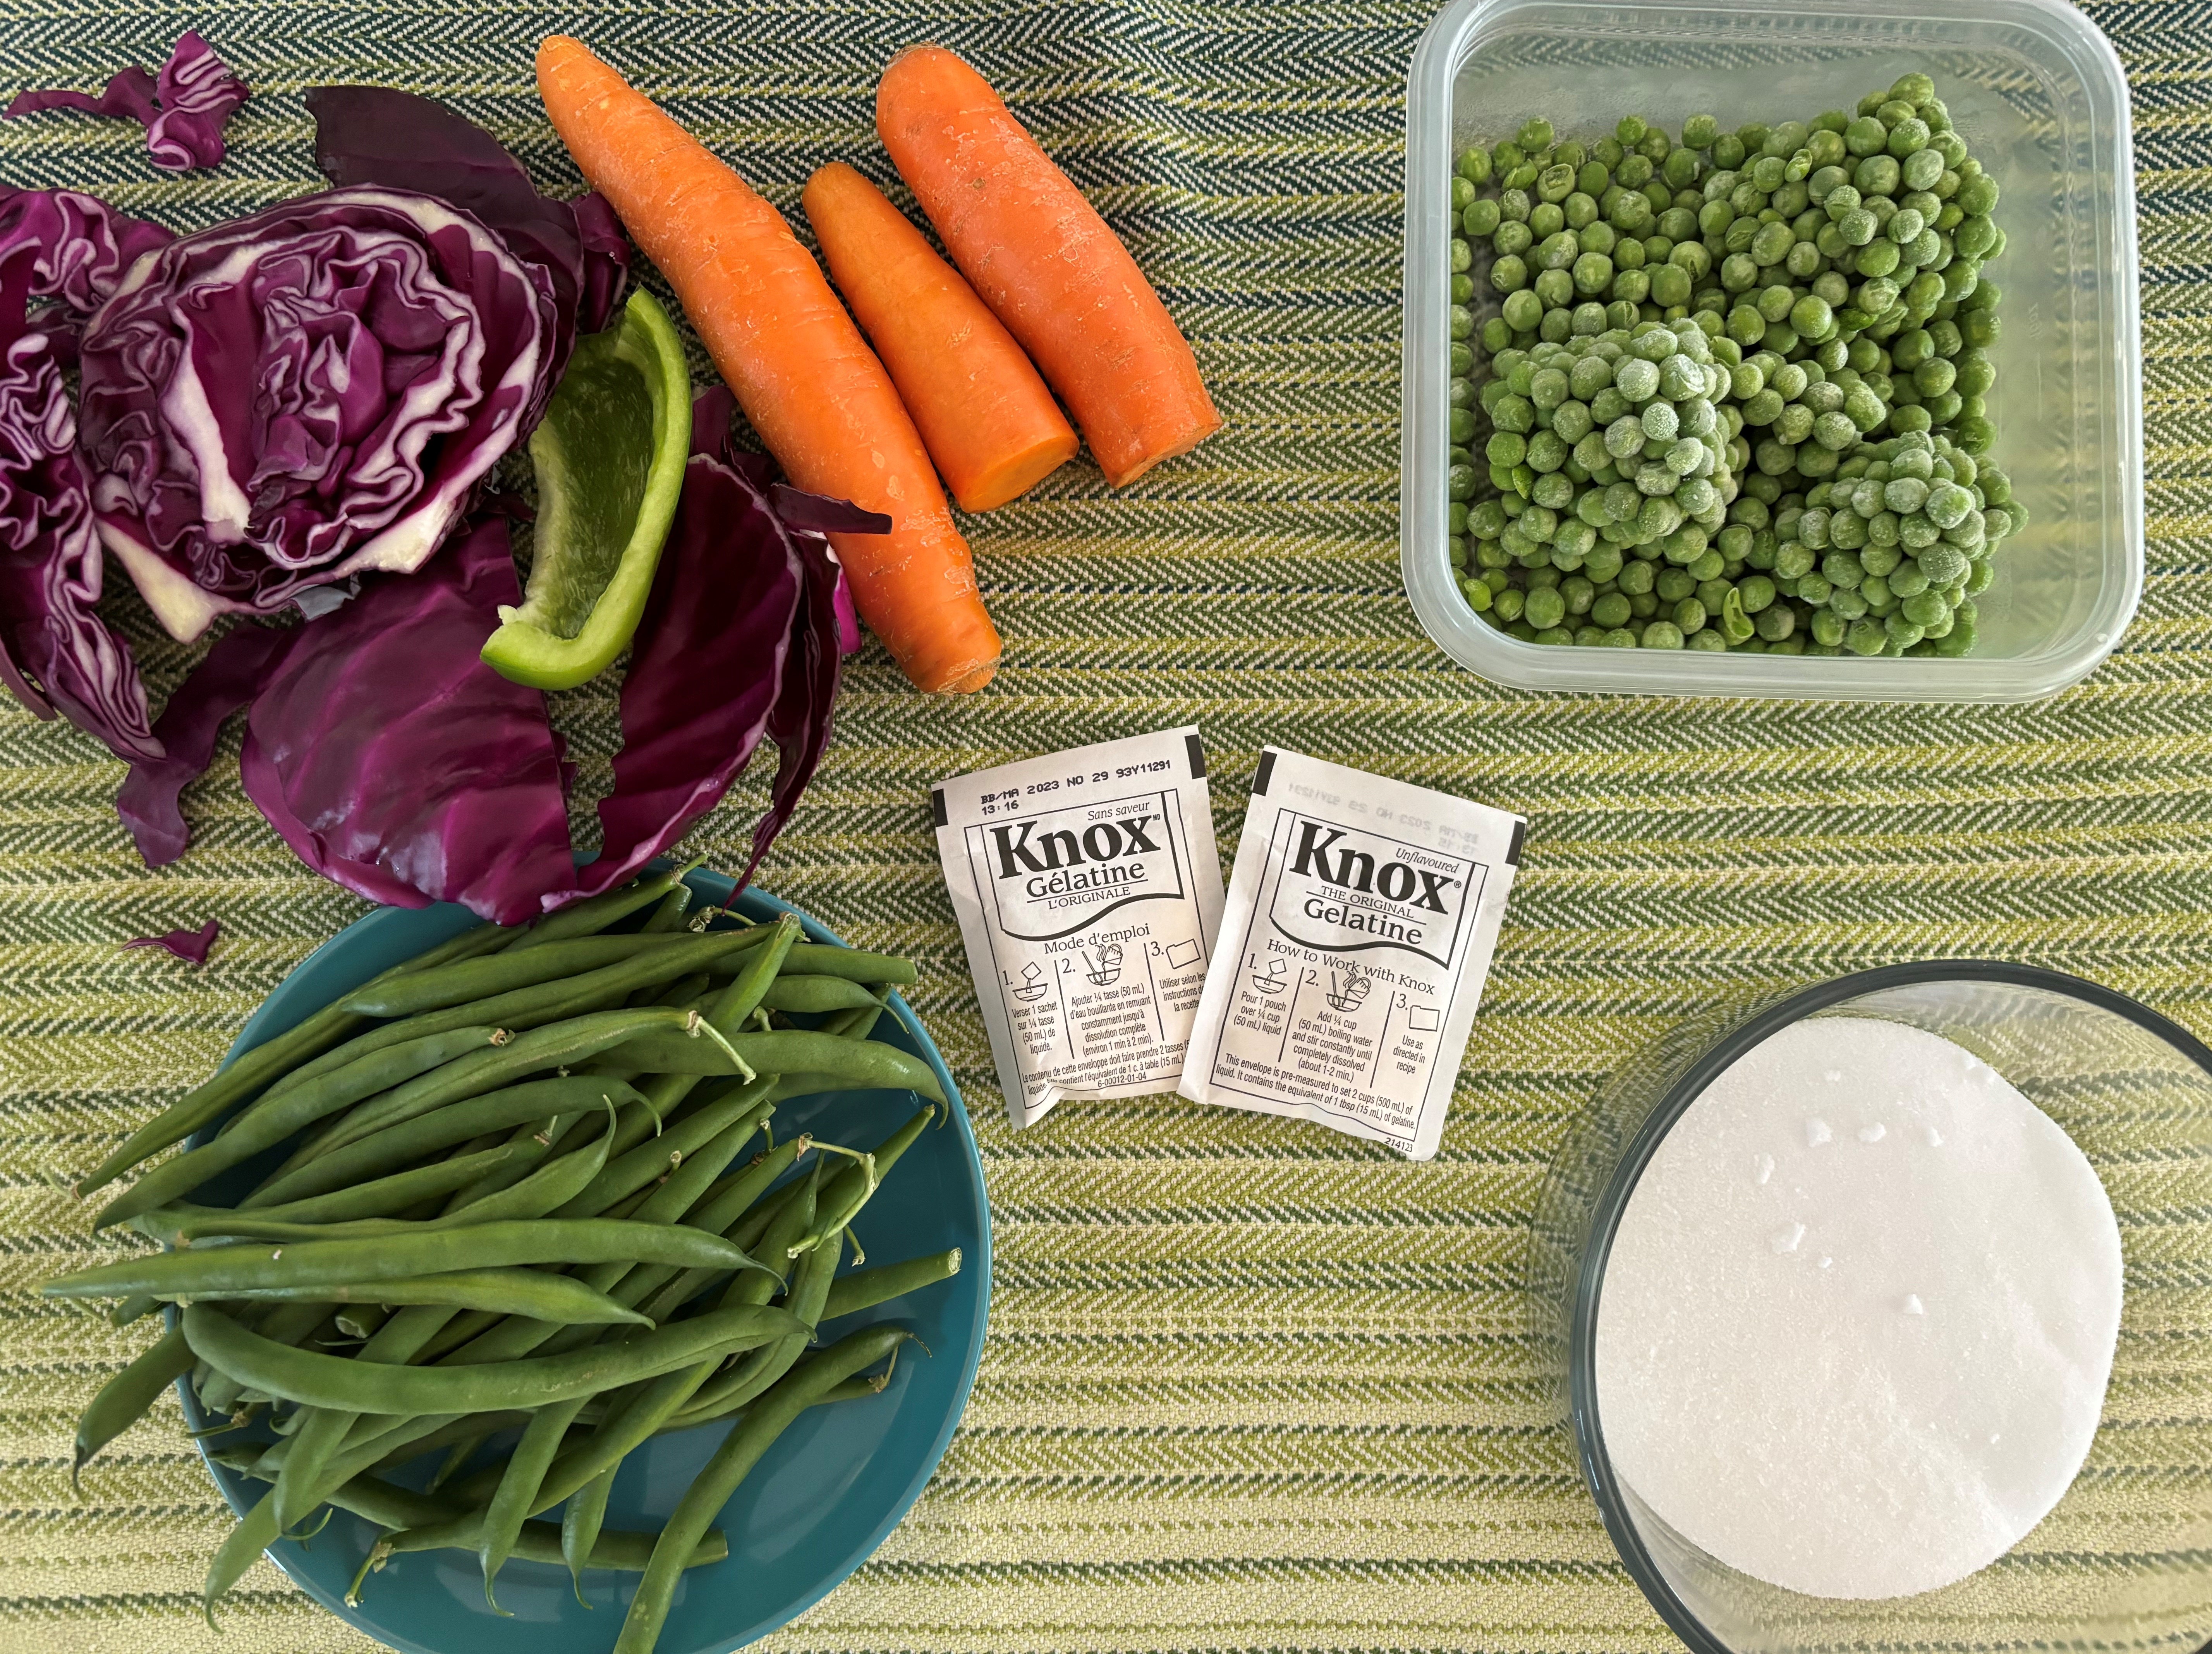
Ingredient prep, from left to right: green beans, cabbage, green pepper, carrots, gelatin packets, frozen peas, and the dry ingredients (sugar and salt). Photograph: Rebecca Murray.
Next up: ingredients! Once I’d figured out the quantities, I had to source the ingredients. Most were already in my pantry or easily purchasable. The one exception? Pepperberries, an Australian spice with fruity, spicy notes (not to be confused with peppercorns). Unable to find pepperberries and opting out of pimentos, I was pleasantly surprised the dish didn’t suffer for it. A last-minute save came from a VERY helpful neighbour who provided whole cloves. I also swapped green cabbage for purple, adding a vibrant twist that made the final dish not only delicious but a visual standout!
The structure of this recipe really resonated with me (and perhaps other archivists or cooks!). Grouping the ingredients into “A” and “B” made it easier to organize my prep work and keep everything separate as I worked. I was hesitant to alter the method, despite adjusting the quantities, but I did soak the gelatin for longer than the recommended 10 minutes and simmered the other “A” ingredients for five minutes while keeping a close eye (this smelled really good!).
One thing I would have appreciated is a time estimate for the cooling process in step 4. I left the mixture on the counter for about 45 minutes before moving on to the next step, which was honestly a bit intimidating, but also fun!
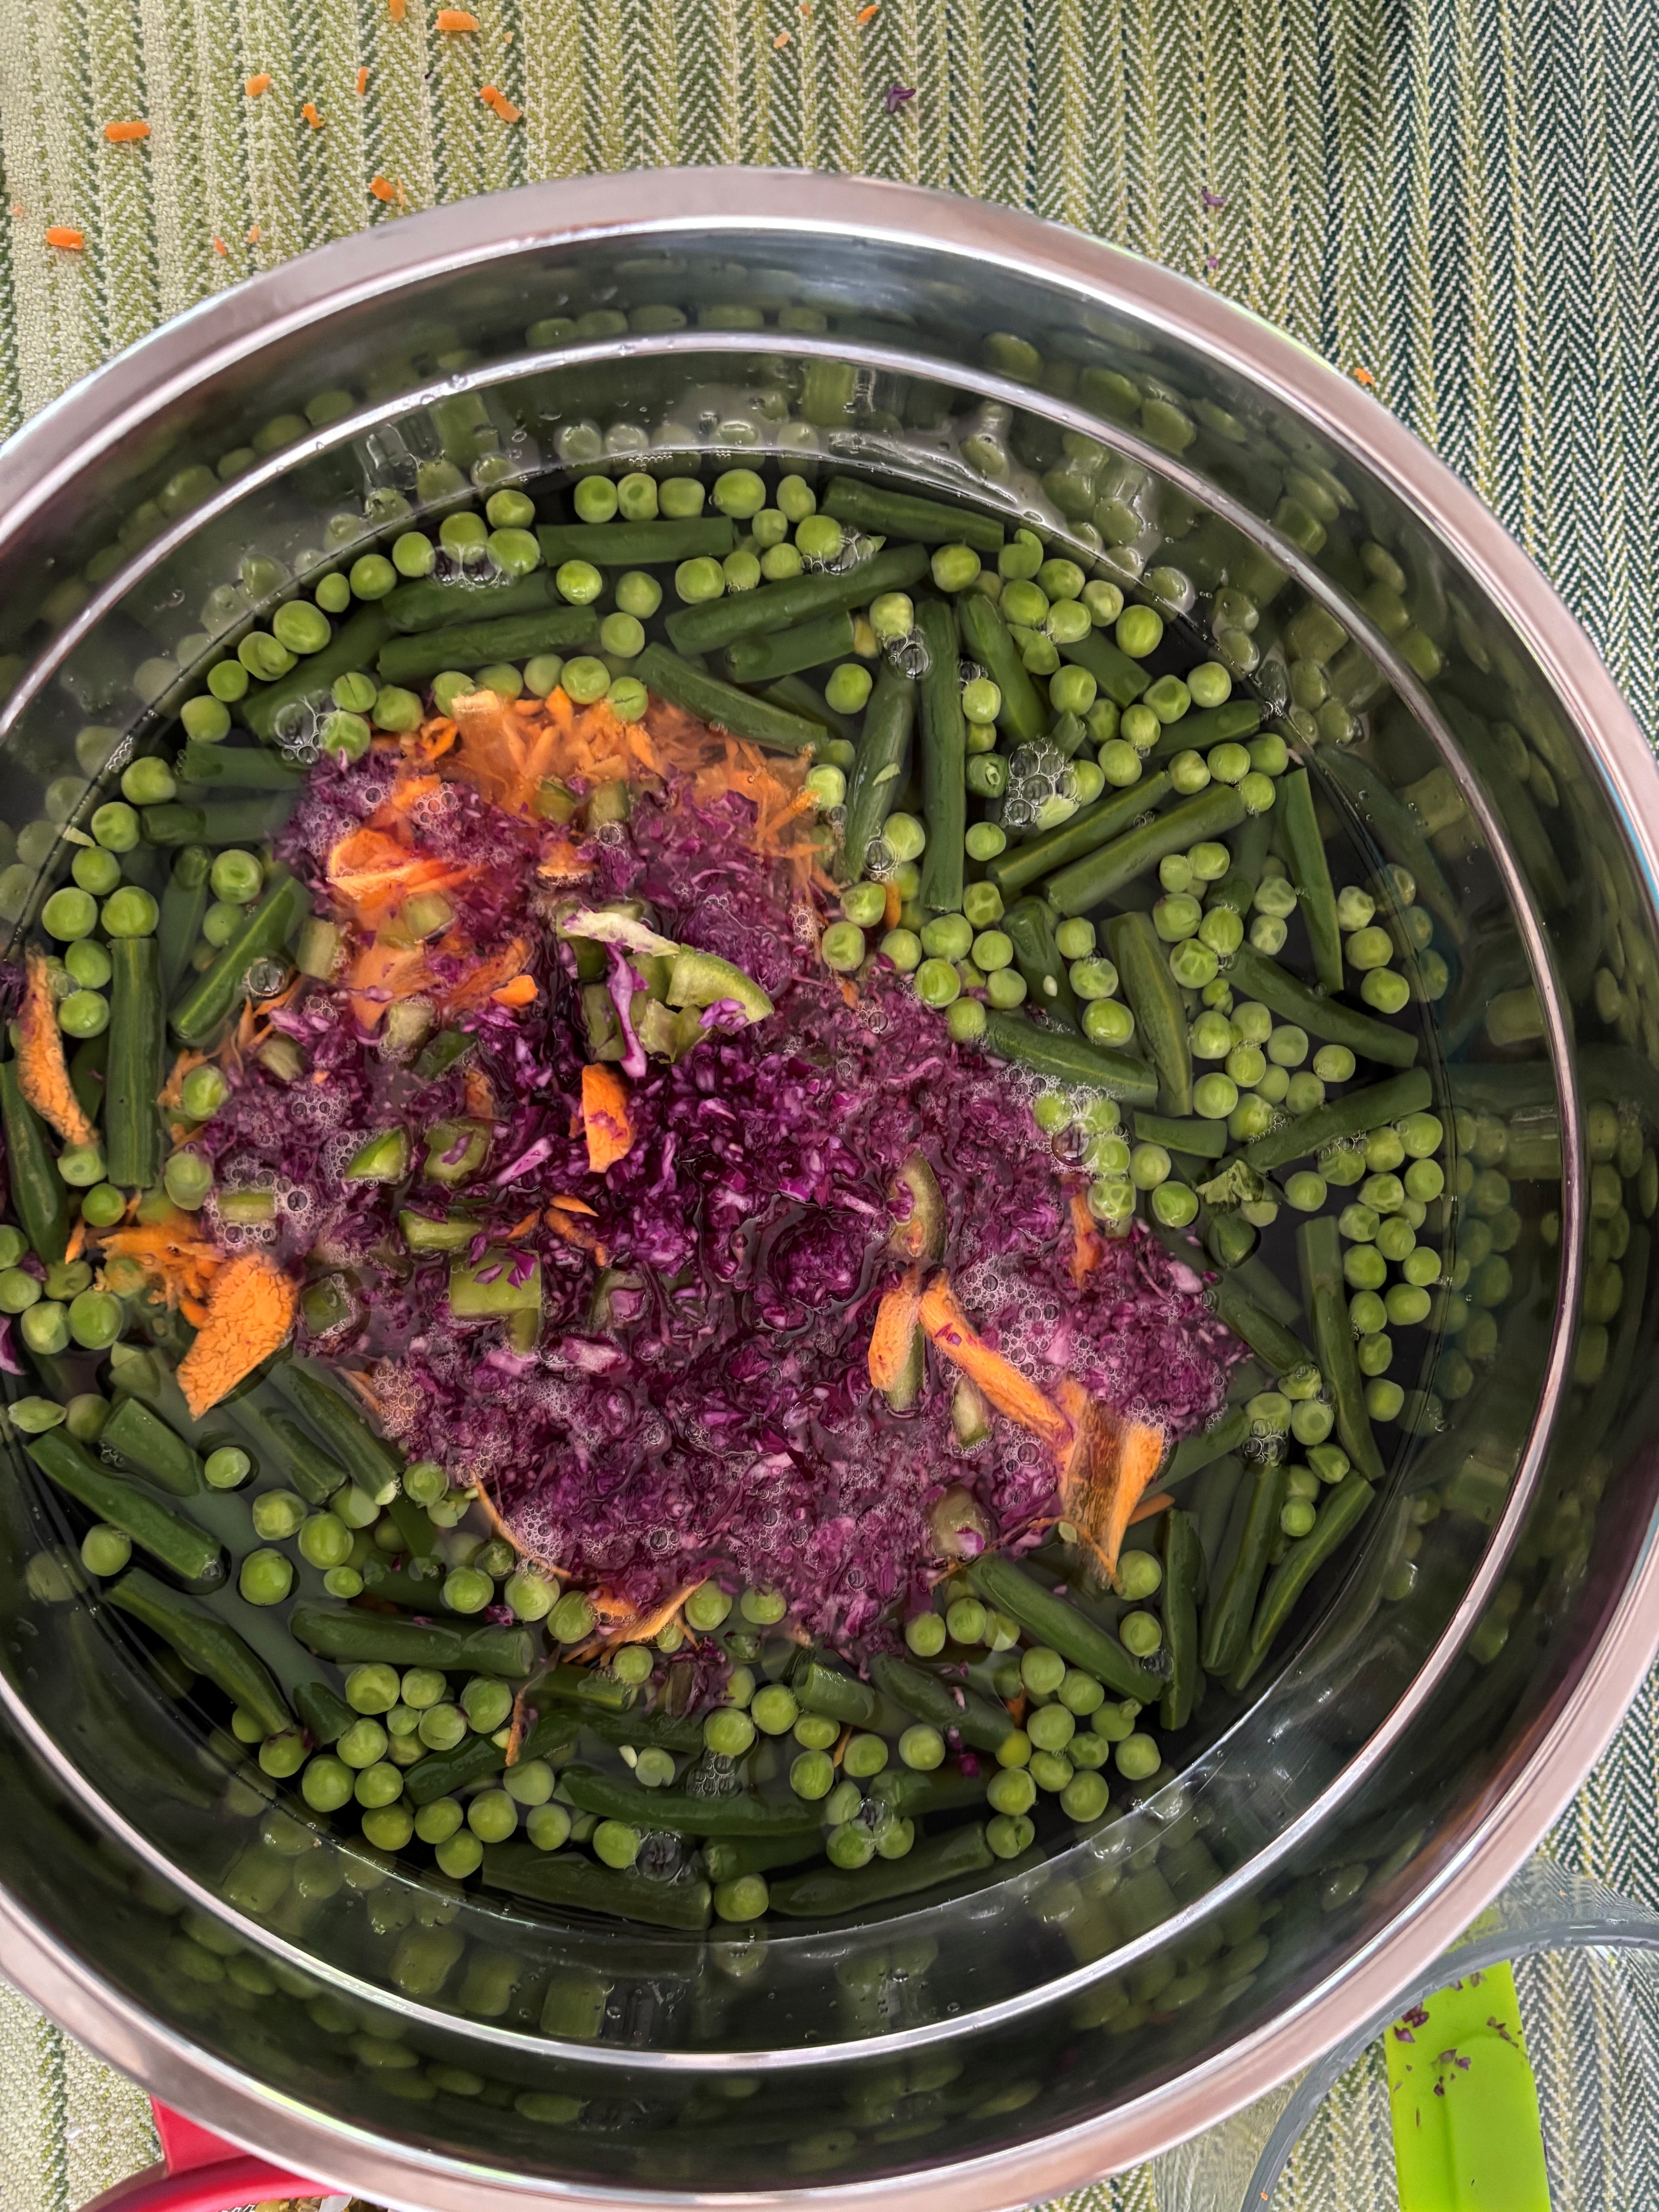
Here’s an in-progress look at the vegetables after I’d strained the broth (or “A” minus the gelatin and water) into “B.” I’m used to straining things over the sink, not into another bowl, so it was a near calamity when I headed to the sink, but I redirected myself to the counter in time for the first of two potentially perilous transfers!
A shot of the second part of step 4. Photograph: Rebecca Murray.
There was only one real “oopsie,” as pictured below. Surprisingly, it wasn’t during the risky transfer of hot broth (or “A” ingredients) into the awaiting “B” ingredients, but rather a clumsy attempt to rearrange the portions for a photo that caused a spill.
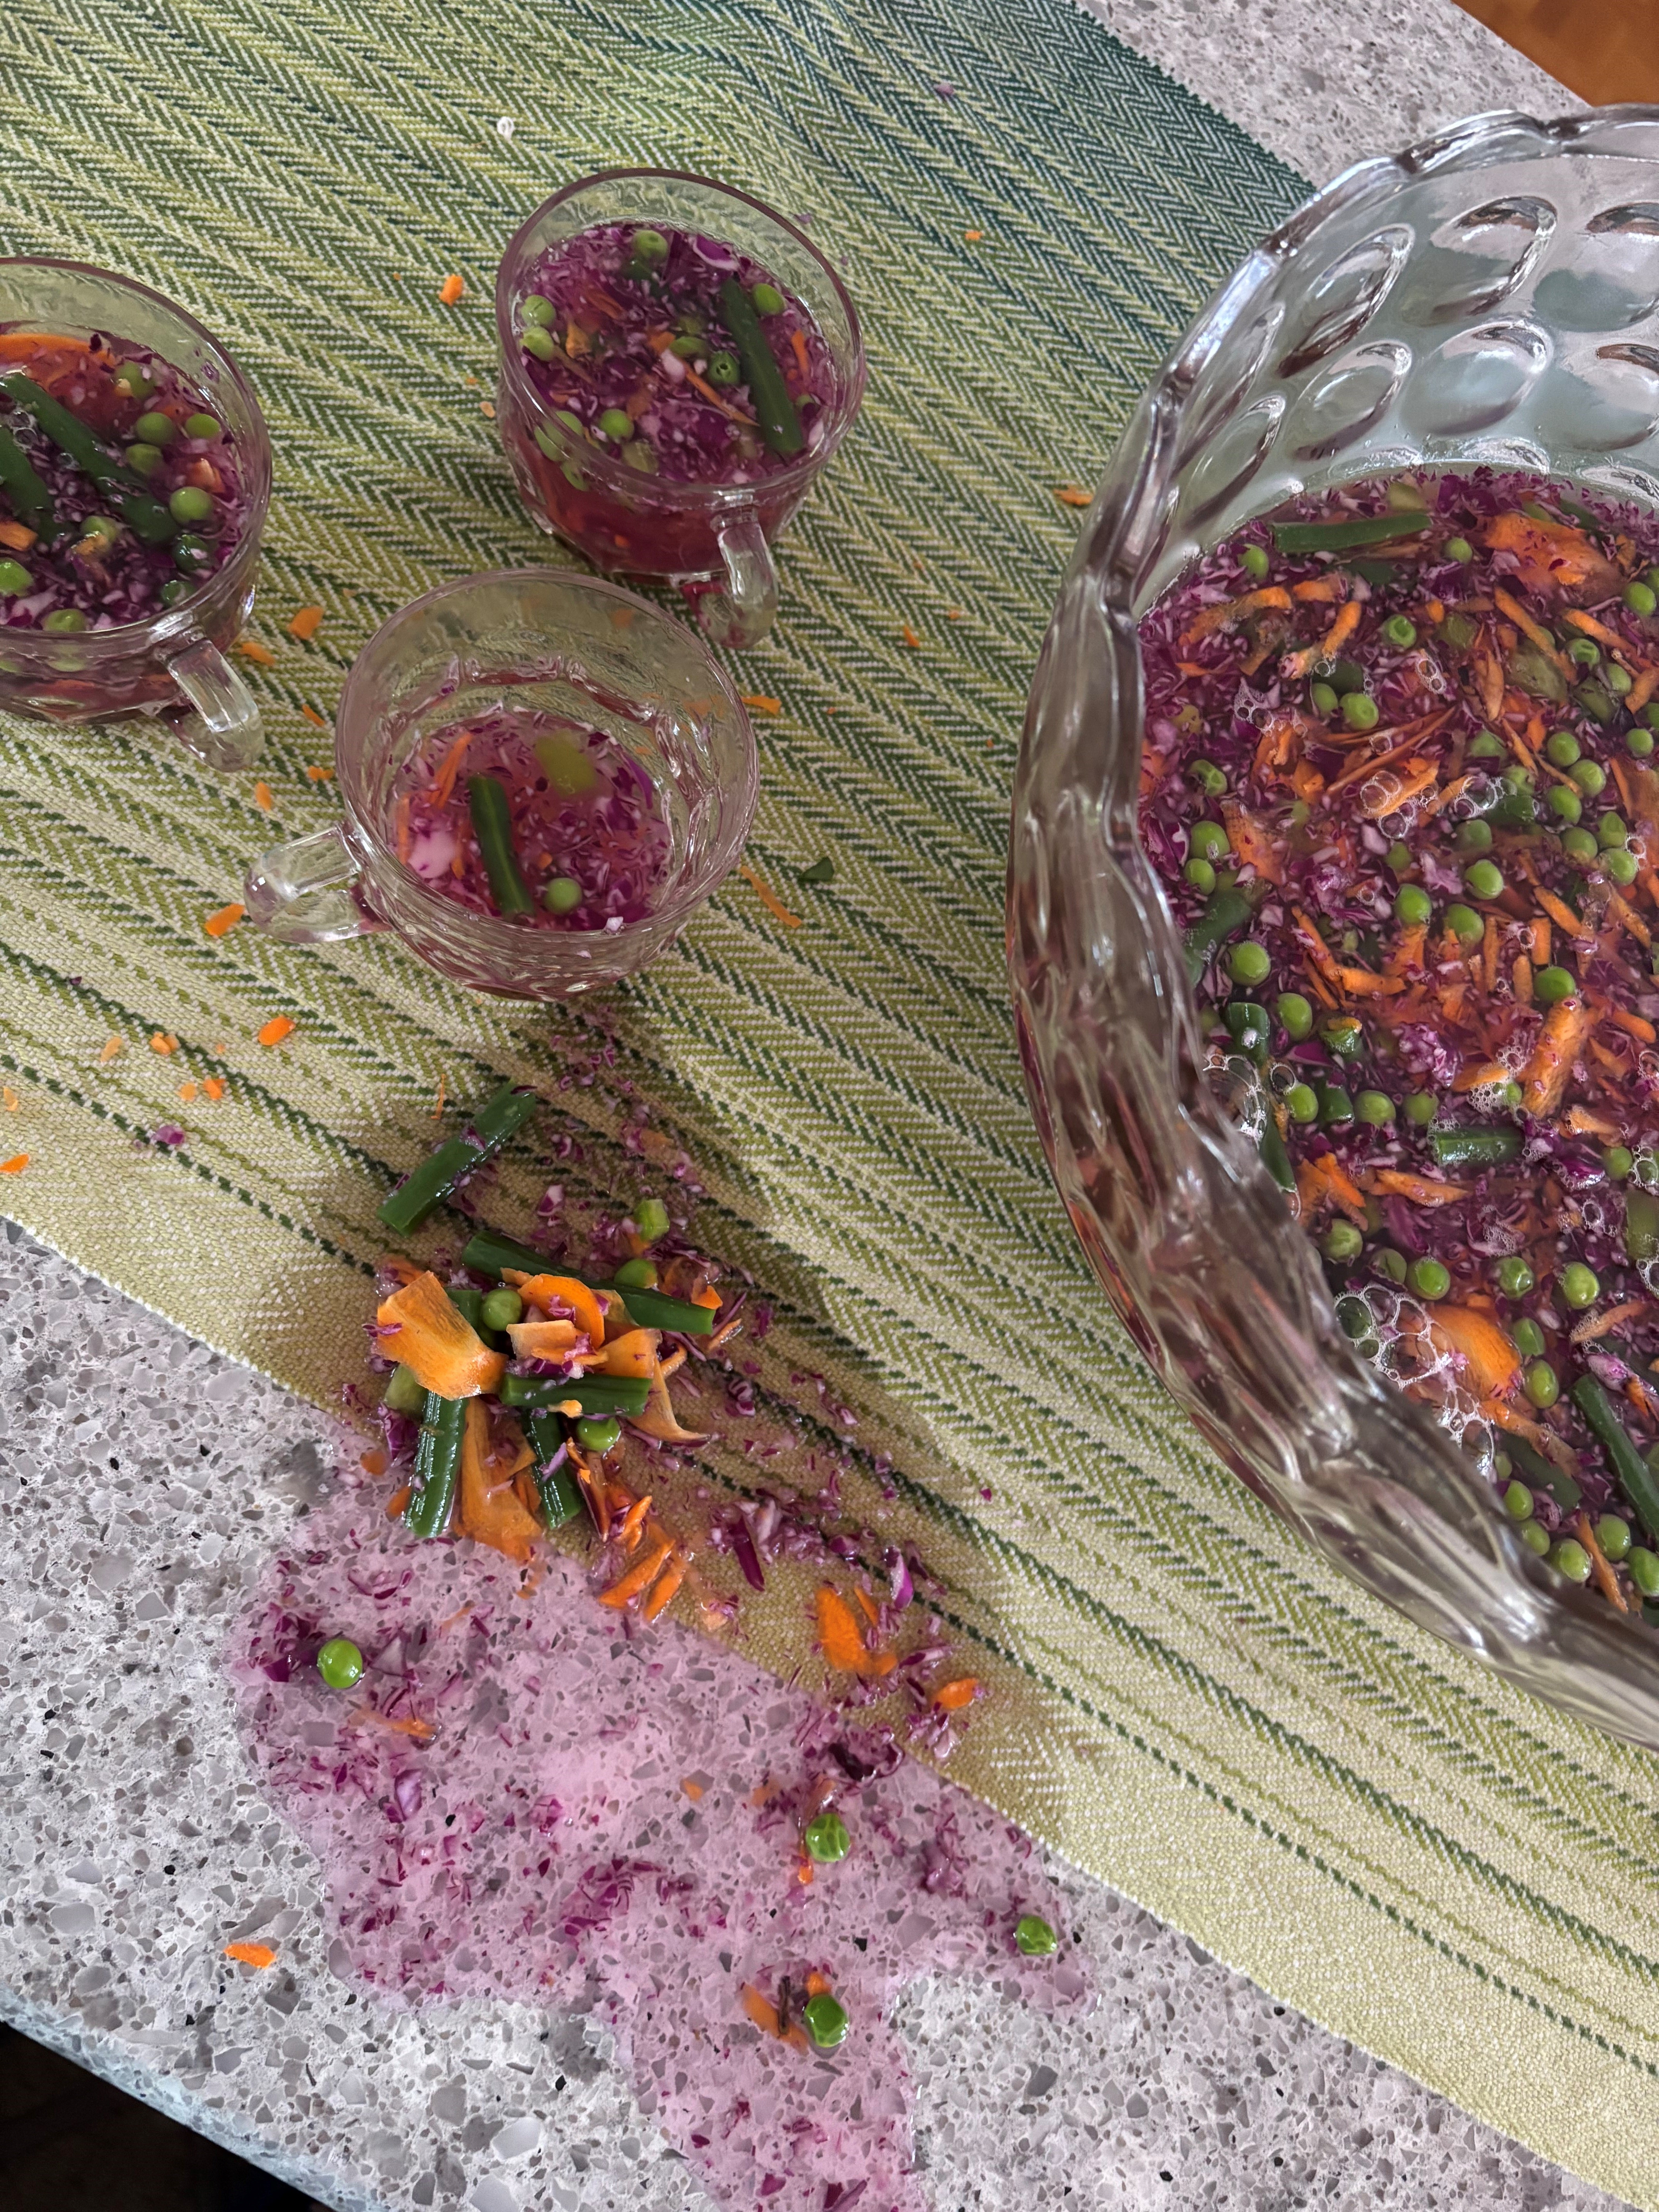
Let’s not cry over spilled jellied salad—it almost looks like abstract art! Photograph: Rebecca Murray.
Overall, the feedback was positive, but my main takeaway is that less is more with this dish! It’s a relatively easy, make-ahead option and a perfect addition to any family gathering year-round.
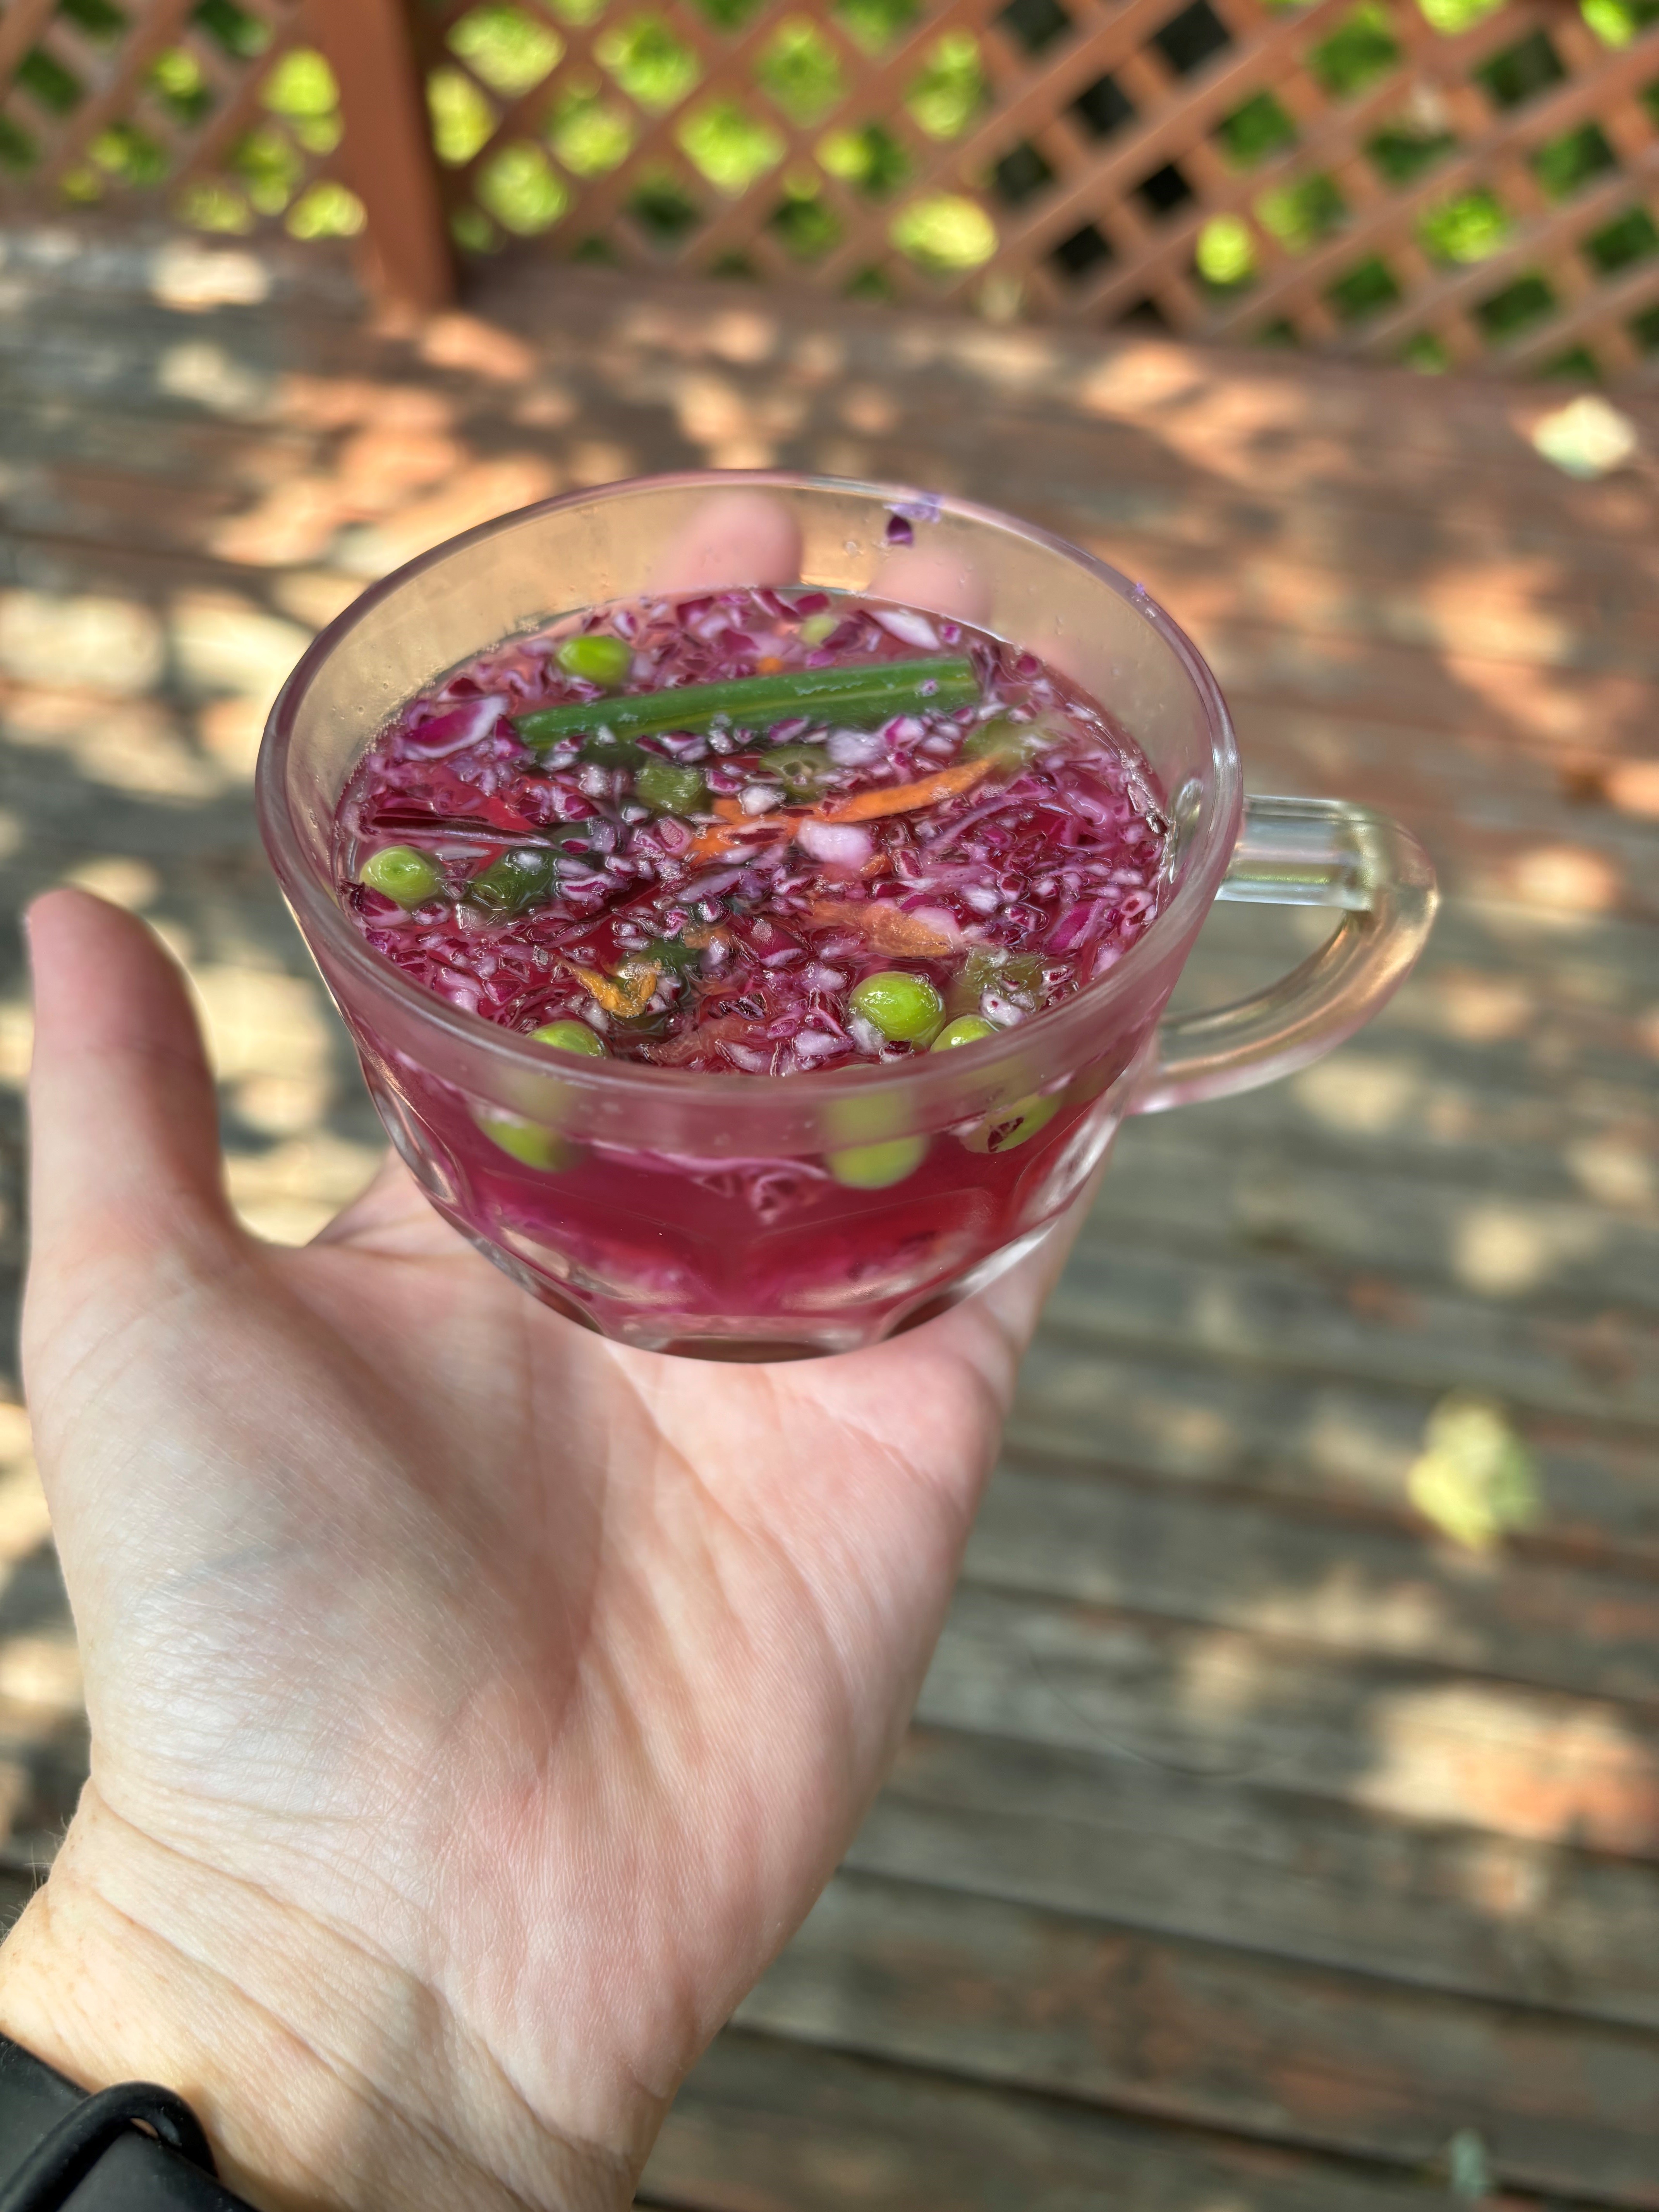
A perfect serving of the jellied salad! Photograph: Rebecca Murray.
Bon appétit!
If you try this recipe, please share pictures of your results with us using the hashtag #CookingWithLAC and tagging our social media: Facebook, Instagram, X (Twitter), YouTube, Flickr and LinkedIn.
For more recipes in this series, go to #CookingWithLAC.
Rebecca Murray is a Literary Programs Advisor in the Outreach and Engagement Branch at Library and Archives Canada.

As a kid, being served peas and carrots in lime jello. I still don’t eat jello.
Less is more is the truth of it.
Thank you for reading my blog post, even if it brought back bad memories! I for one am glad that I have not been subject to this particular eras tour! – Rebecca