By Ariane Gauthier
The 1950s were a decisive decade for consumerism in the western world, particularly in the Americas. Economic growth, technological advancements and mass media have a central role in shaping a consumer-oriented culture that emerged in the post-war period. This transformation laid the foundations for the modern consumer society and the global economy that would continue to evolve in the following decades.
In the 1950s, the rise of canned food in the United States marked a key change in American food culture and, by extension, Canadian food culture. As more and more women entered the labour market and busy family schedules became the norm, canned products like vegetables, soups and meats offered a quick and reliable solution for meal preparation. This boom was fuelled by advances in food preservation technologies, which made canned products affordable and accessible to the average household. With the added benefit of a long shelf life, these products have helped redefine home cooking, making it simpler and more efficient, while meeting consumers’ growing appetite for convenient products.
It is in this historical context that Kraft Foods Limited published the 40 Famous Menus from O.K. Economy & Shop-rite booklet, from which comes the recipe of this blog post.

40 Famous Menus from O.K. Economy & Shop-rite. (OCLC 1006679567)
The booklet includes a multitude of recipes showcasing various Kraft products, but I was mainly interested in aspic or gelatin-based recipes. What fascinated me, among other things, was that the primary goal of many recipes with gelatin was not so much to be appetizing, but rather to be impressive. Originally, gelatin recipes were primarily intended to showcase the beauty of the molds that could be obtained and the aesthetic art of arranging raw vegetables in them. In the 1950s, things changed a bit; there was a desire to eat aspic for its taste, but the idea of impressing remained, as we can see with the recipe I chose.
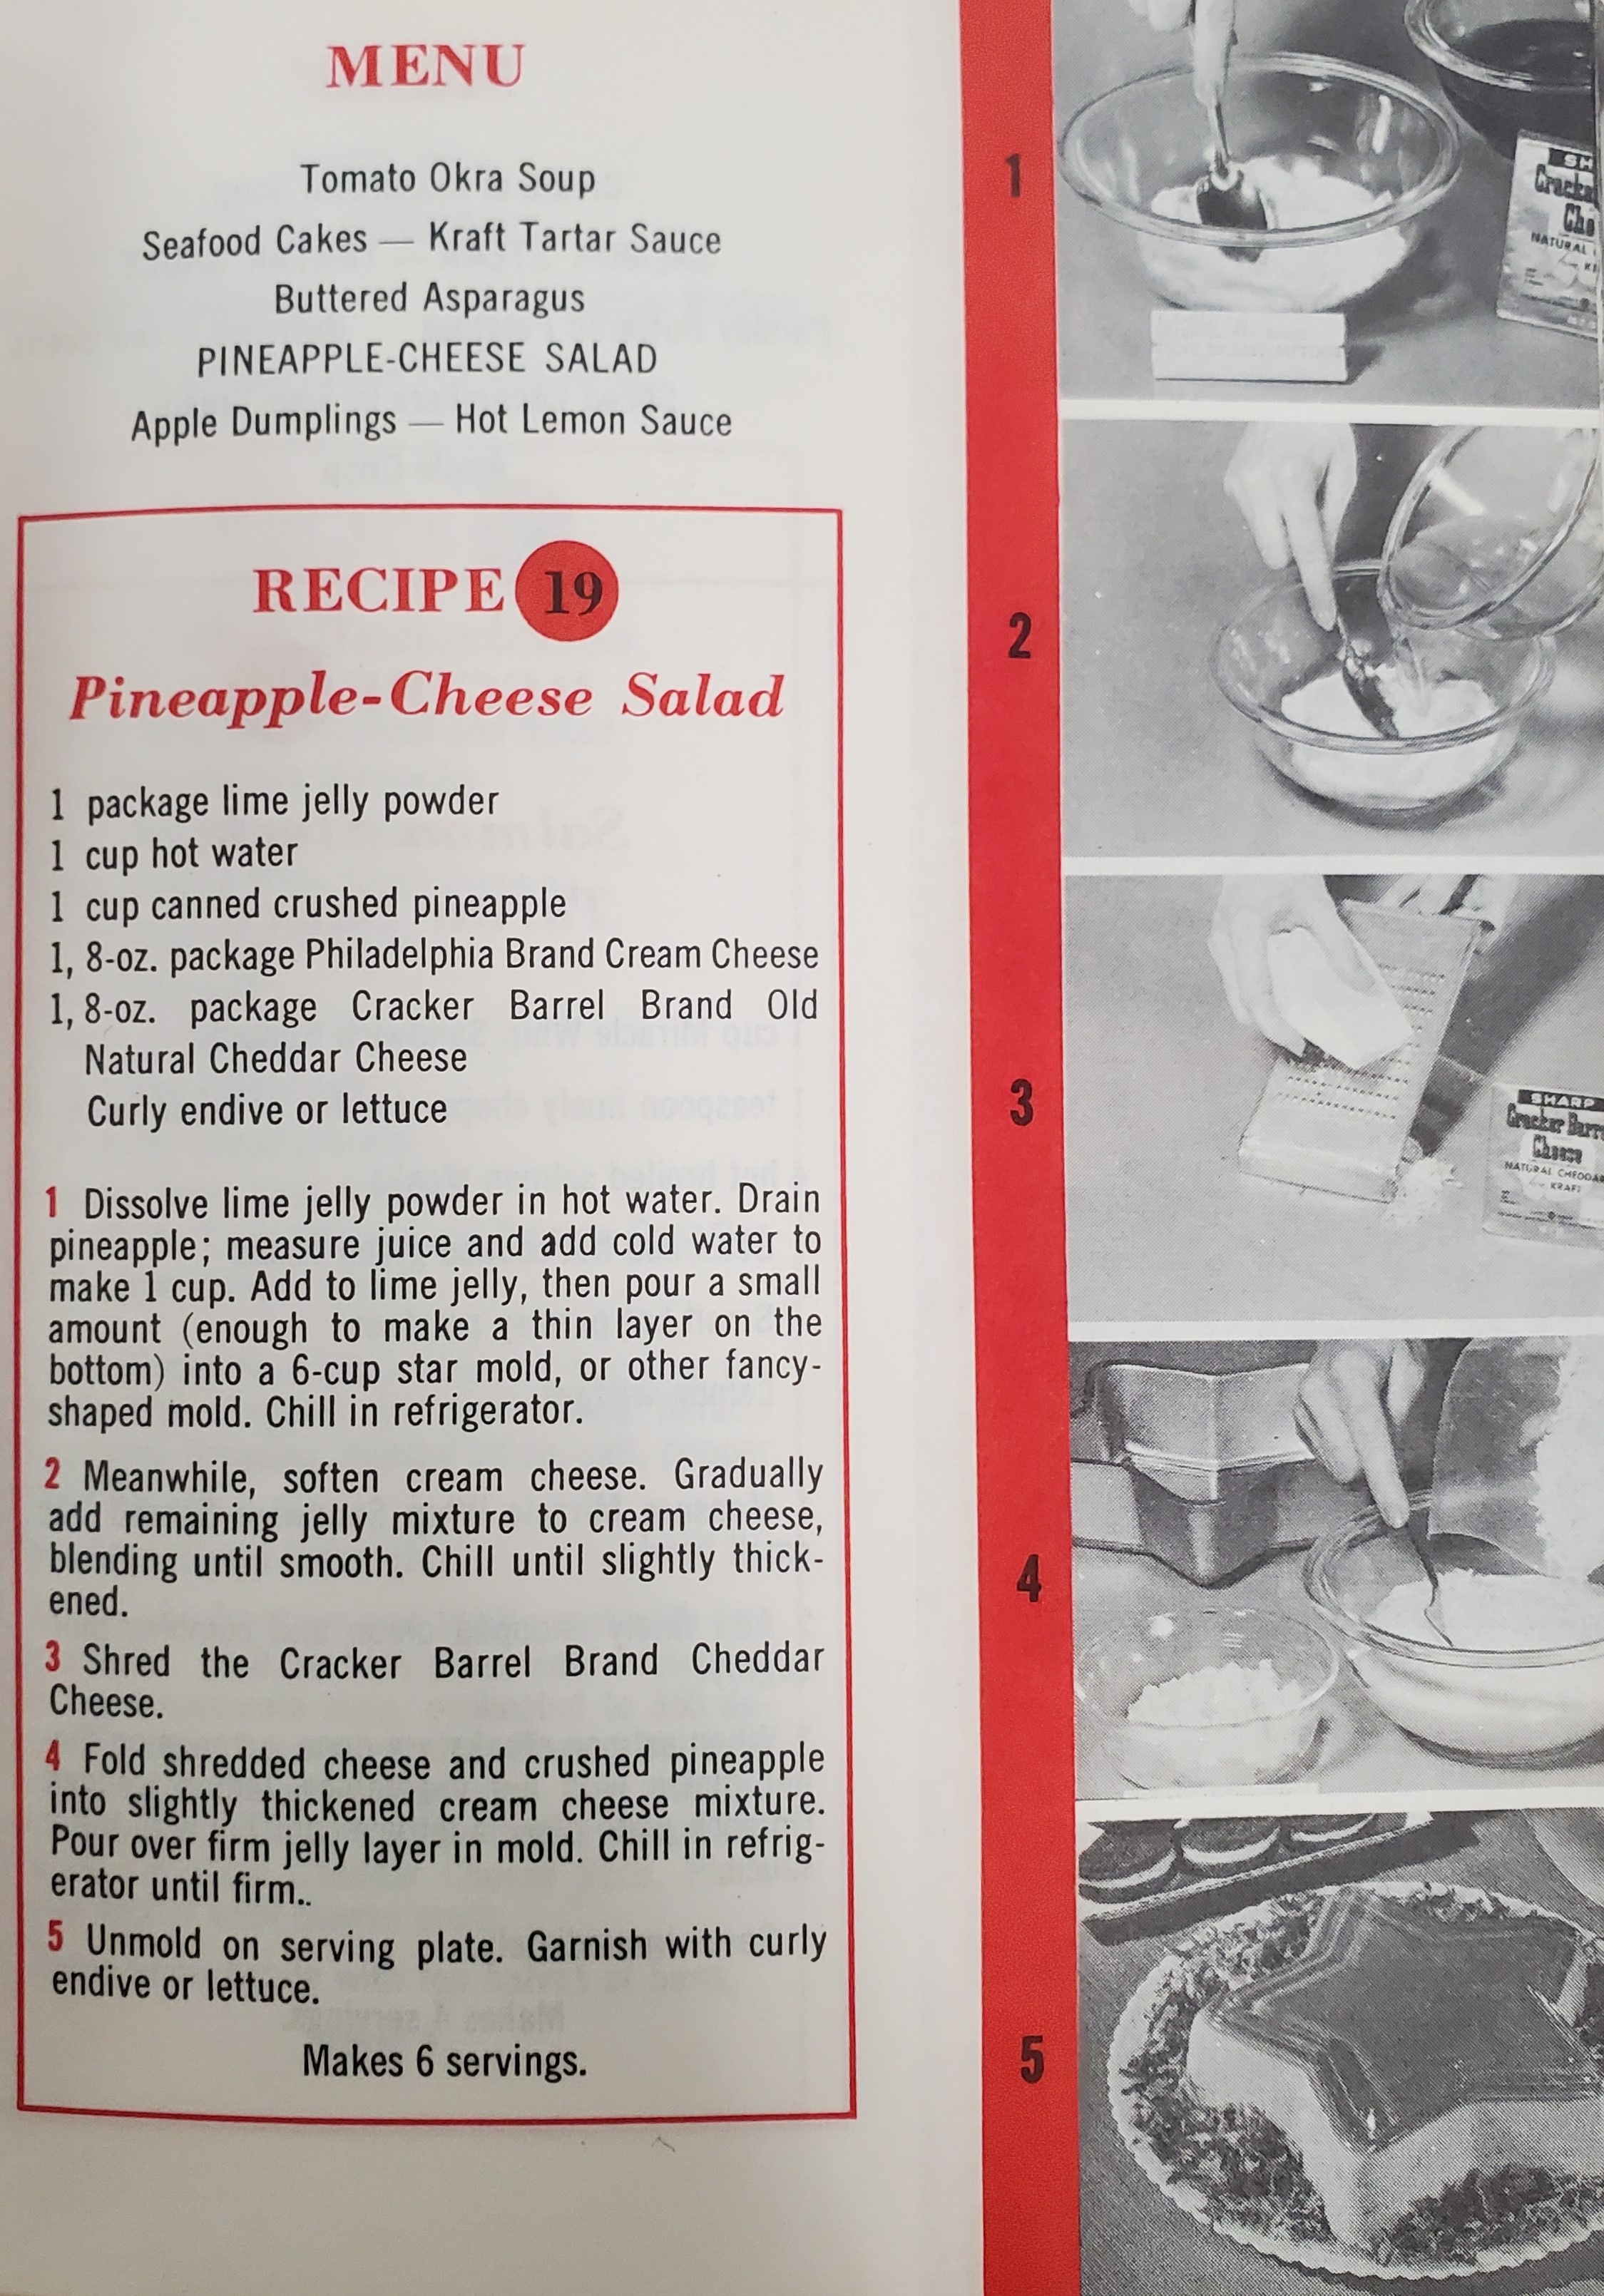
Recipe for pineapple-cheese salad. (OCLC 1006679567)
The ingredients attest to a sincere desire to create a tasty dish. In theory, the flavours should blend well. The only somewhat suspicious intruder is the grated cheddar cheese. That said, we notice, in the penultimate sentence of the first step, the desire to impress that I mentioned earlier: Add to lime jelly, then pour a small amount (enough to make a thin layer on the bottom) into a 6-cup star mold, or other fancy-shaped mold.”
The detail regarding the mold style betrays, to some extent, the intention to create something impressive.
On that note, I embarked on making this recipe, hoping to have found something that would be tasty.

The ingredients for the pineapple-cheese salad recipe, with the mold. (Photo by Ariane Gauthier)
Once the ingredients are gathered, the recipe comes together quite quickly. To start, you had to dissolve the lime jello in a cup of hot water, then mix it with the pineapple juice and pour a thin layer of the liquid into the mold. Once done, the mold had to be left in the refrigerator so that the jello solidifies a little.
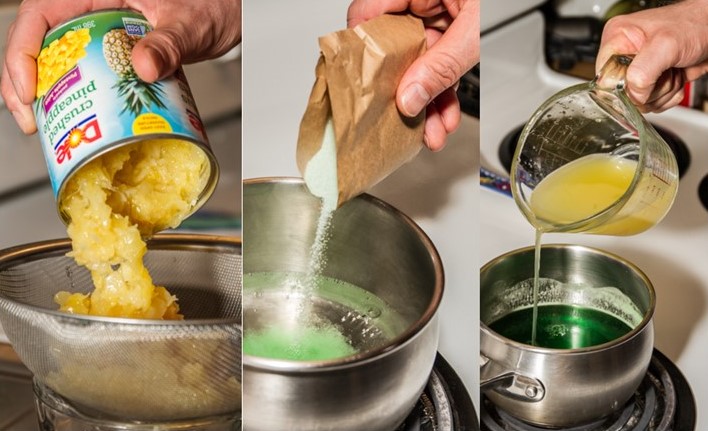
The first step of the recipe, preparing the lime jelly. (Photos by Ariane Gauthier)
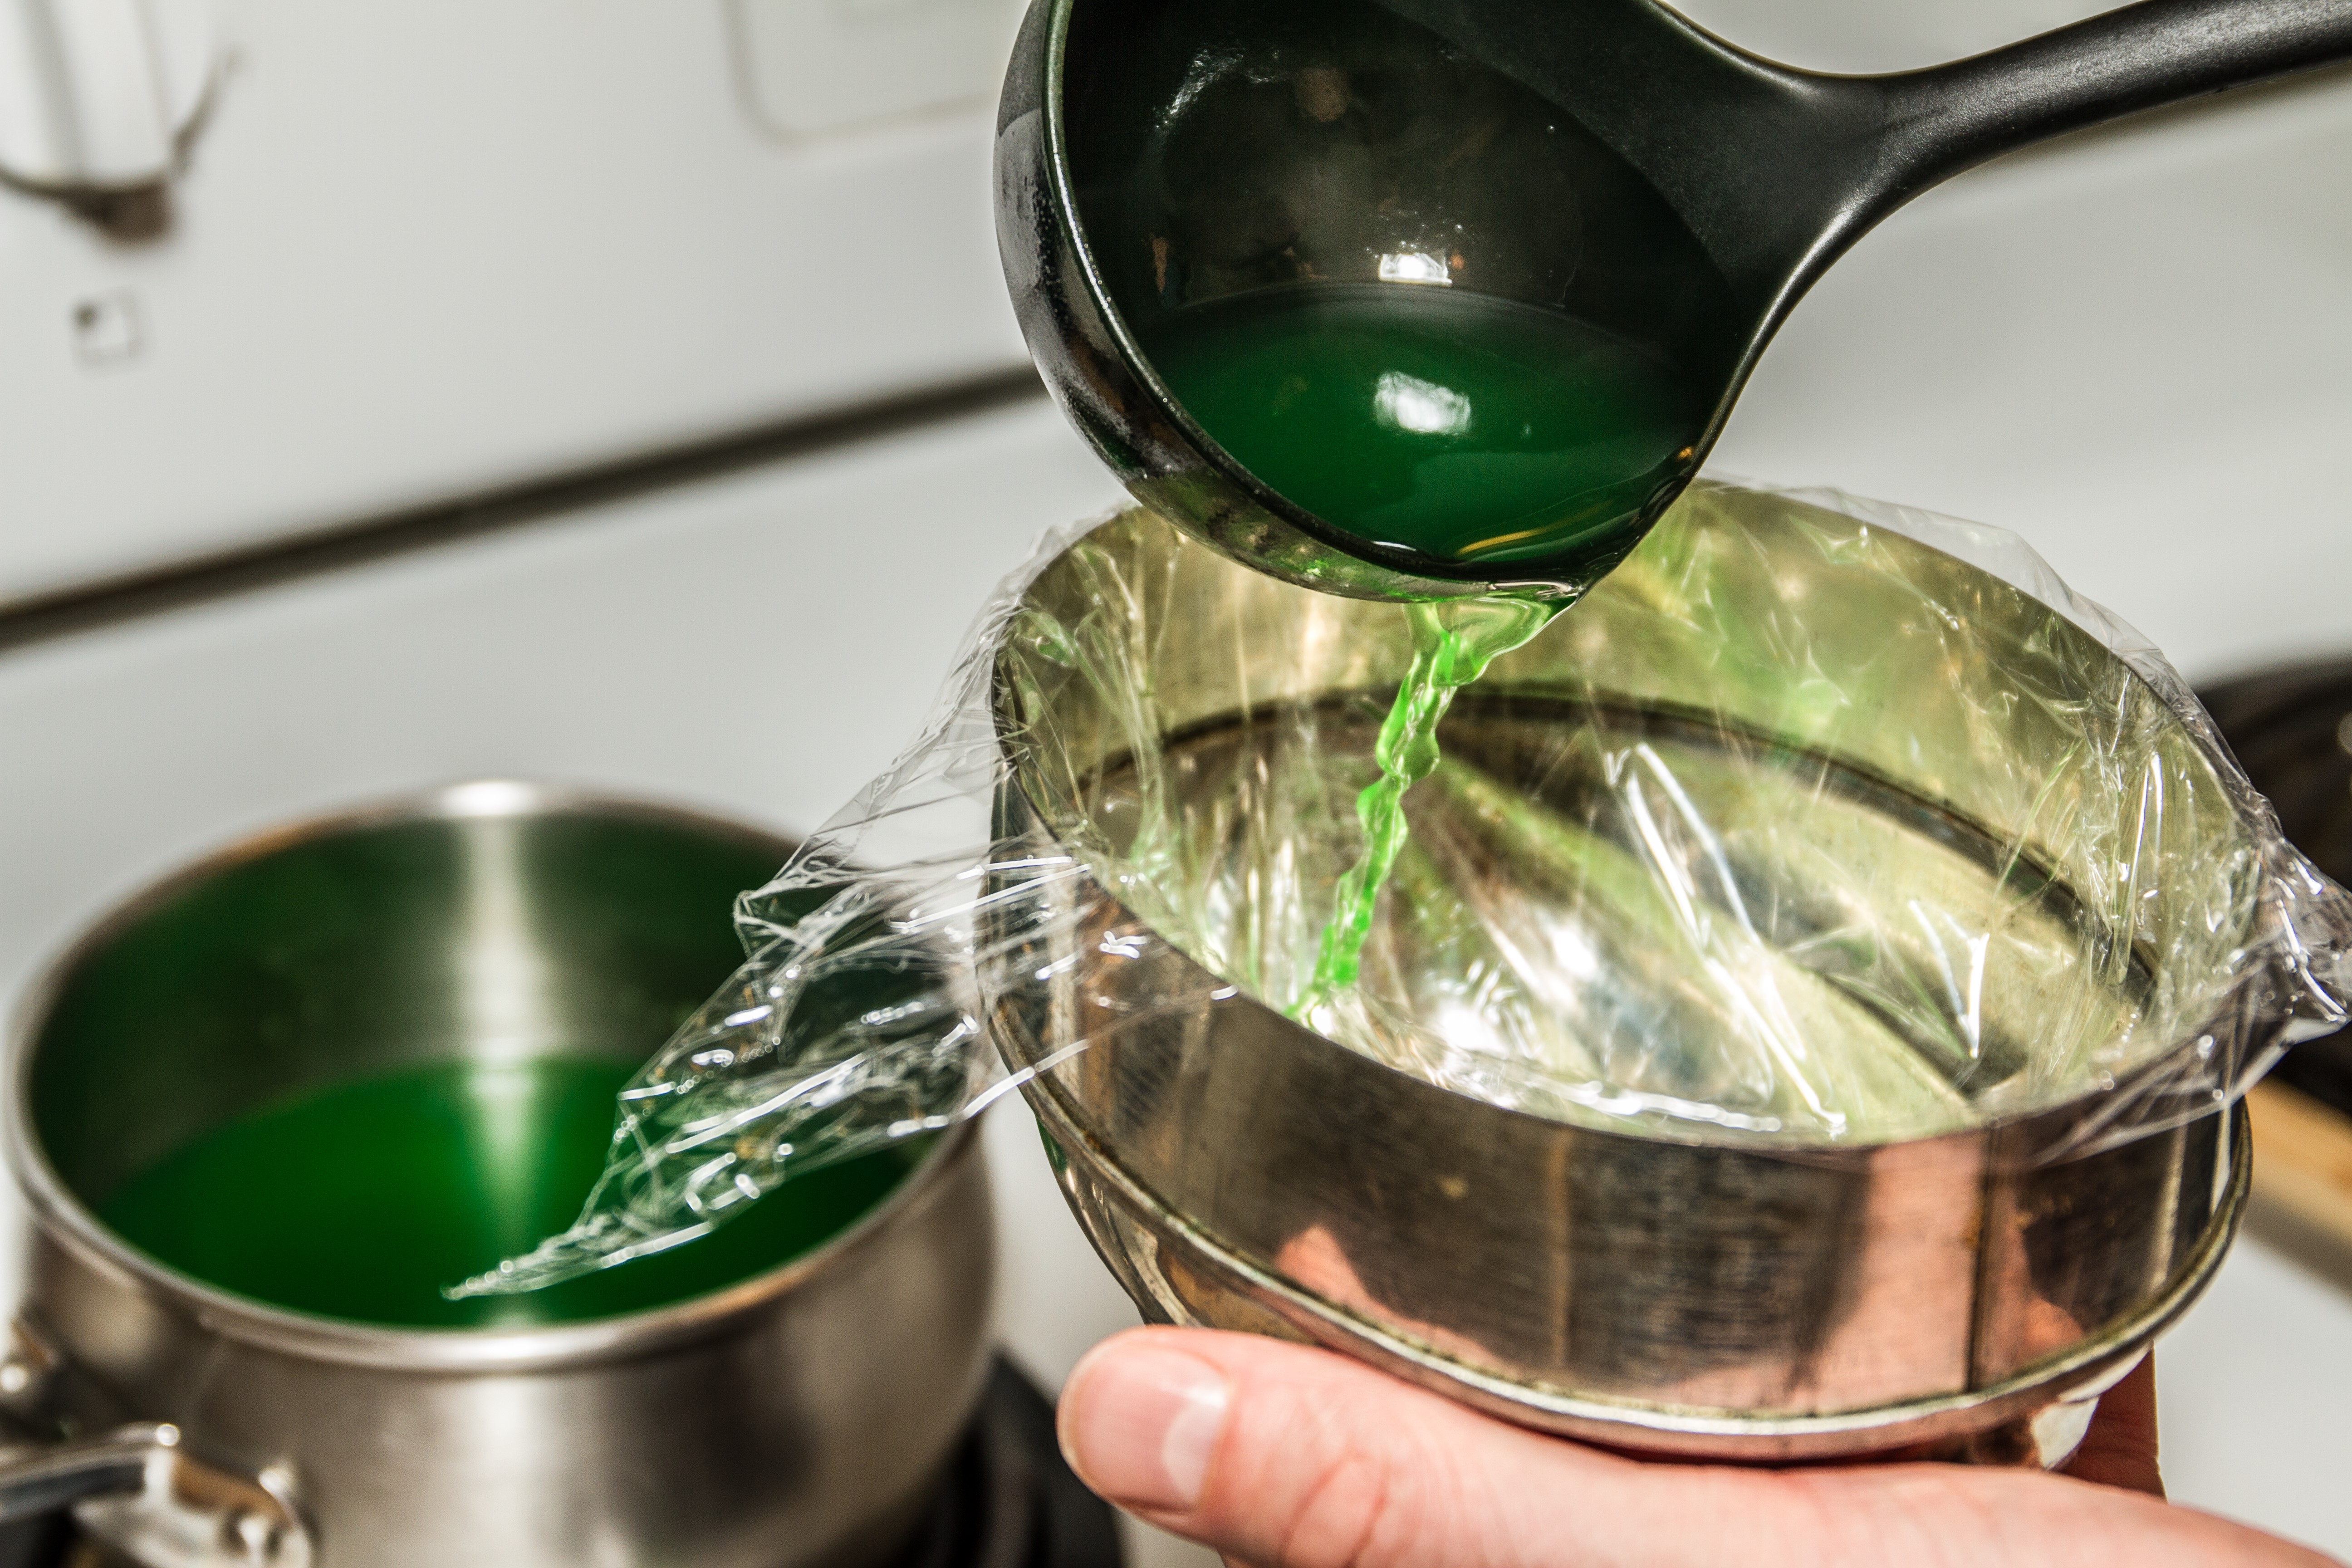
Pour in a ladle of the first layer of jello into the mold. (Photo by Ariane Gauthier)
In the meantime, I moved on to the next step. I combined the remaining liquid jello mixture with the lime and pineapple juice with the cream cheese. I blended it all until it was smooth, then I put the bowl in the refrigerator for about 30 minutes.

The second step of the pineapple-cheese salad recipe. (Photos by Ariane Gauthier)
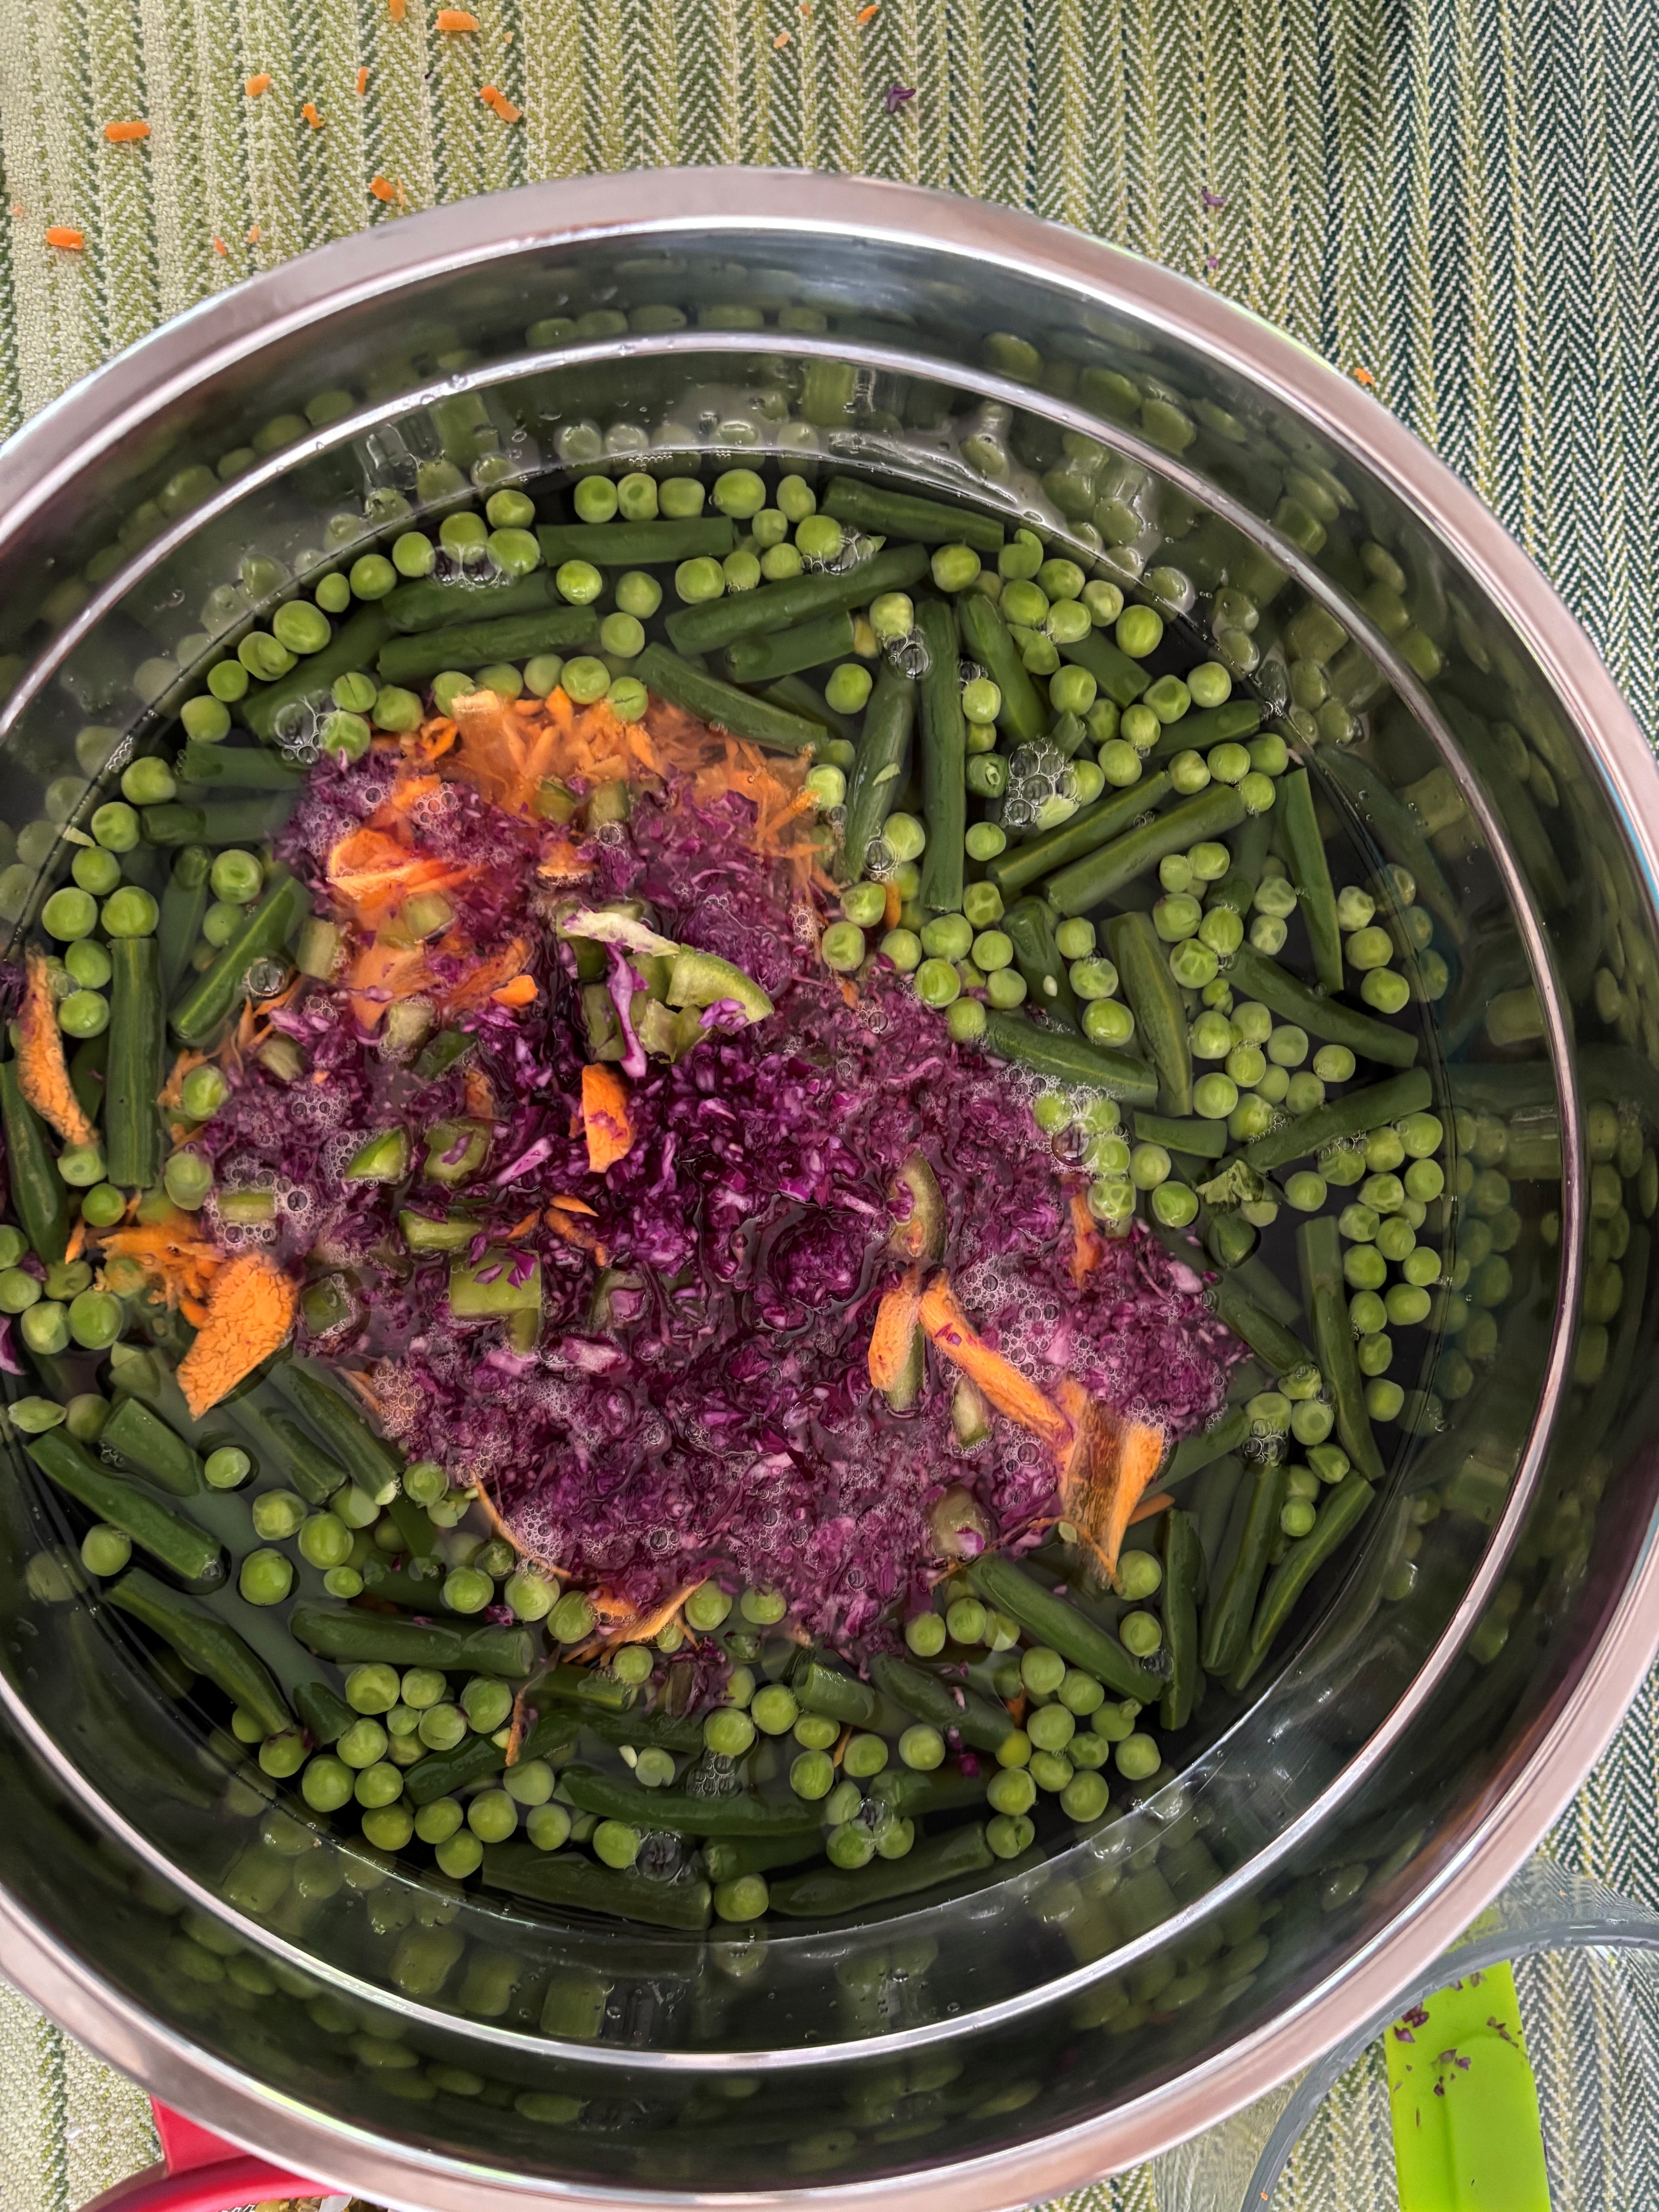
This made it possible to thicken the liquid and incorporate the crushed pineapples and grated cheddar cheese evenly. Afterwards, this mixture was added to the mold and left to rest in the fridge for a few hours.

The fourth step of the pineapple-cheese salad recipe. (Photos by Ariane Gauthier)
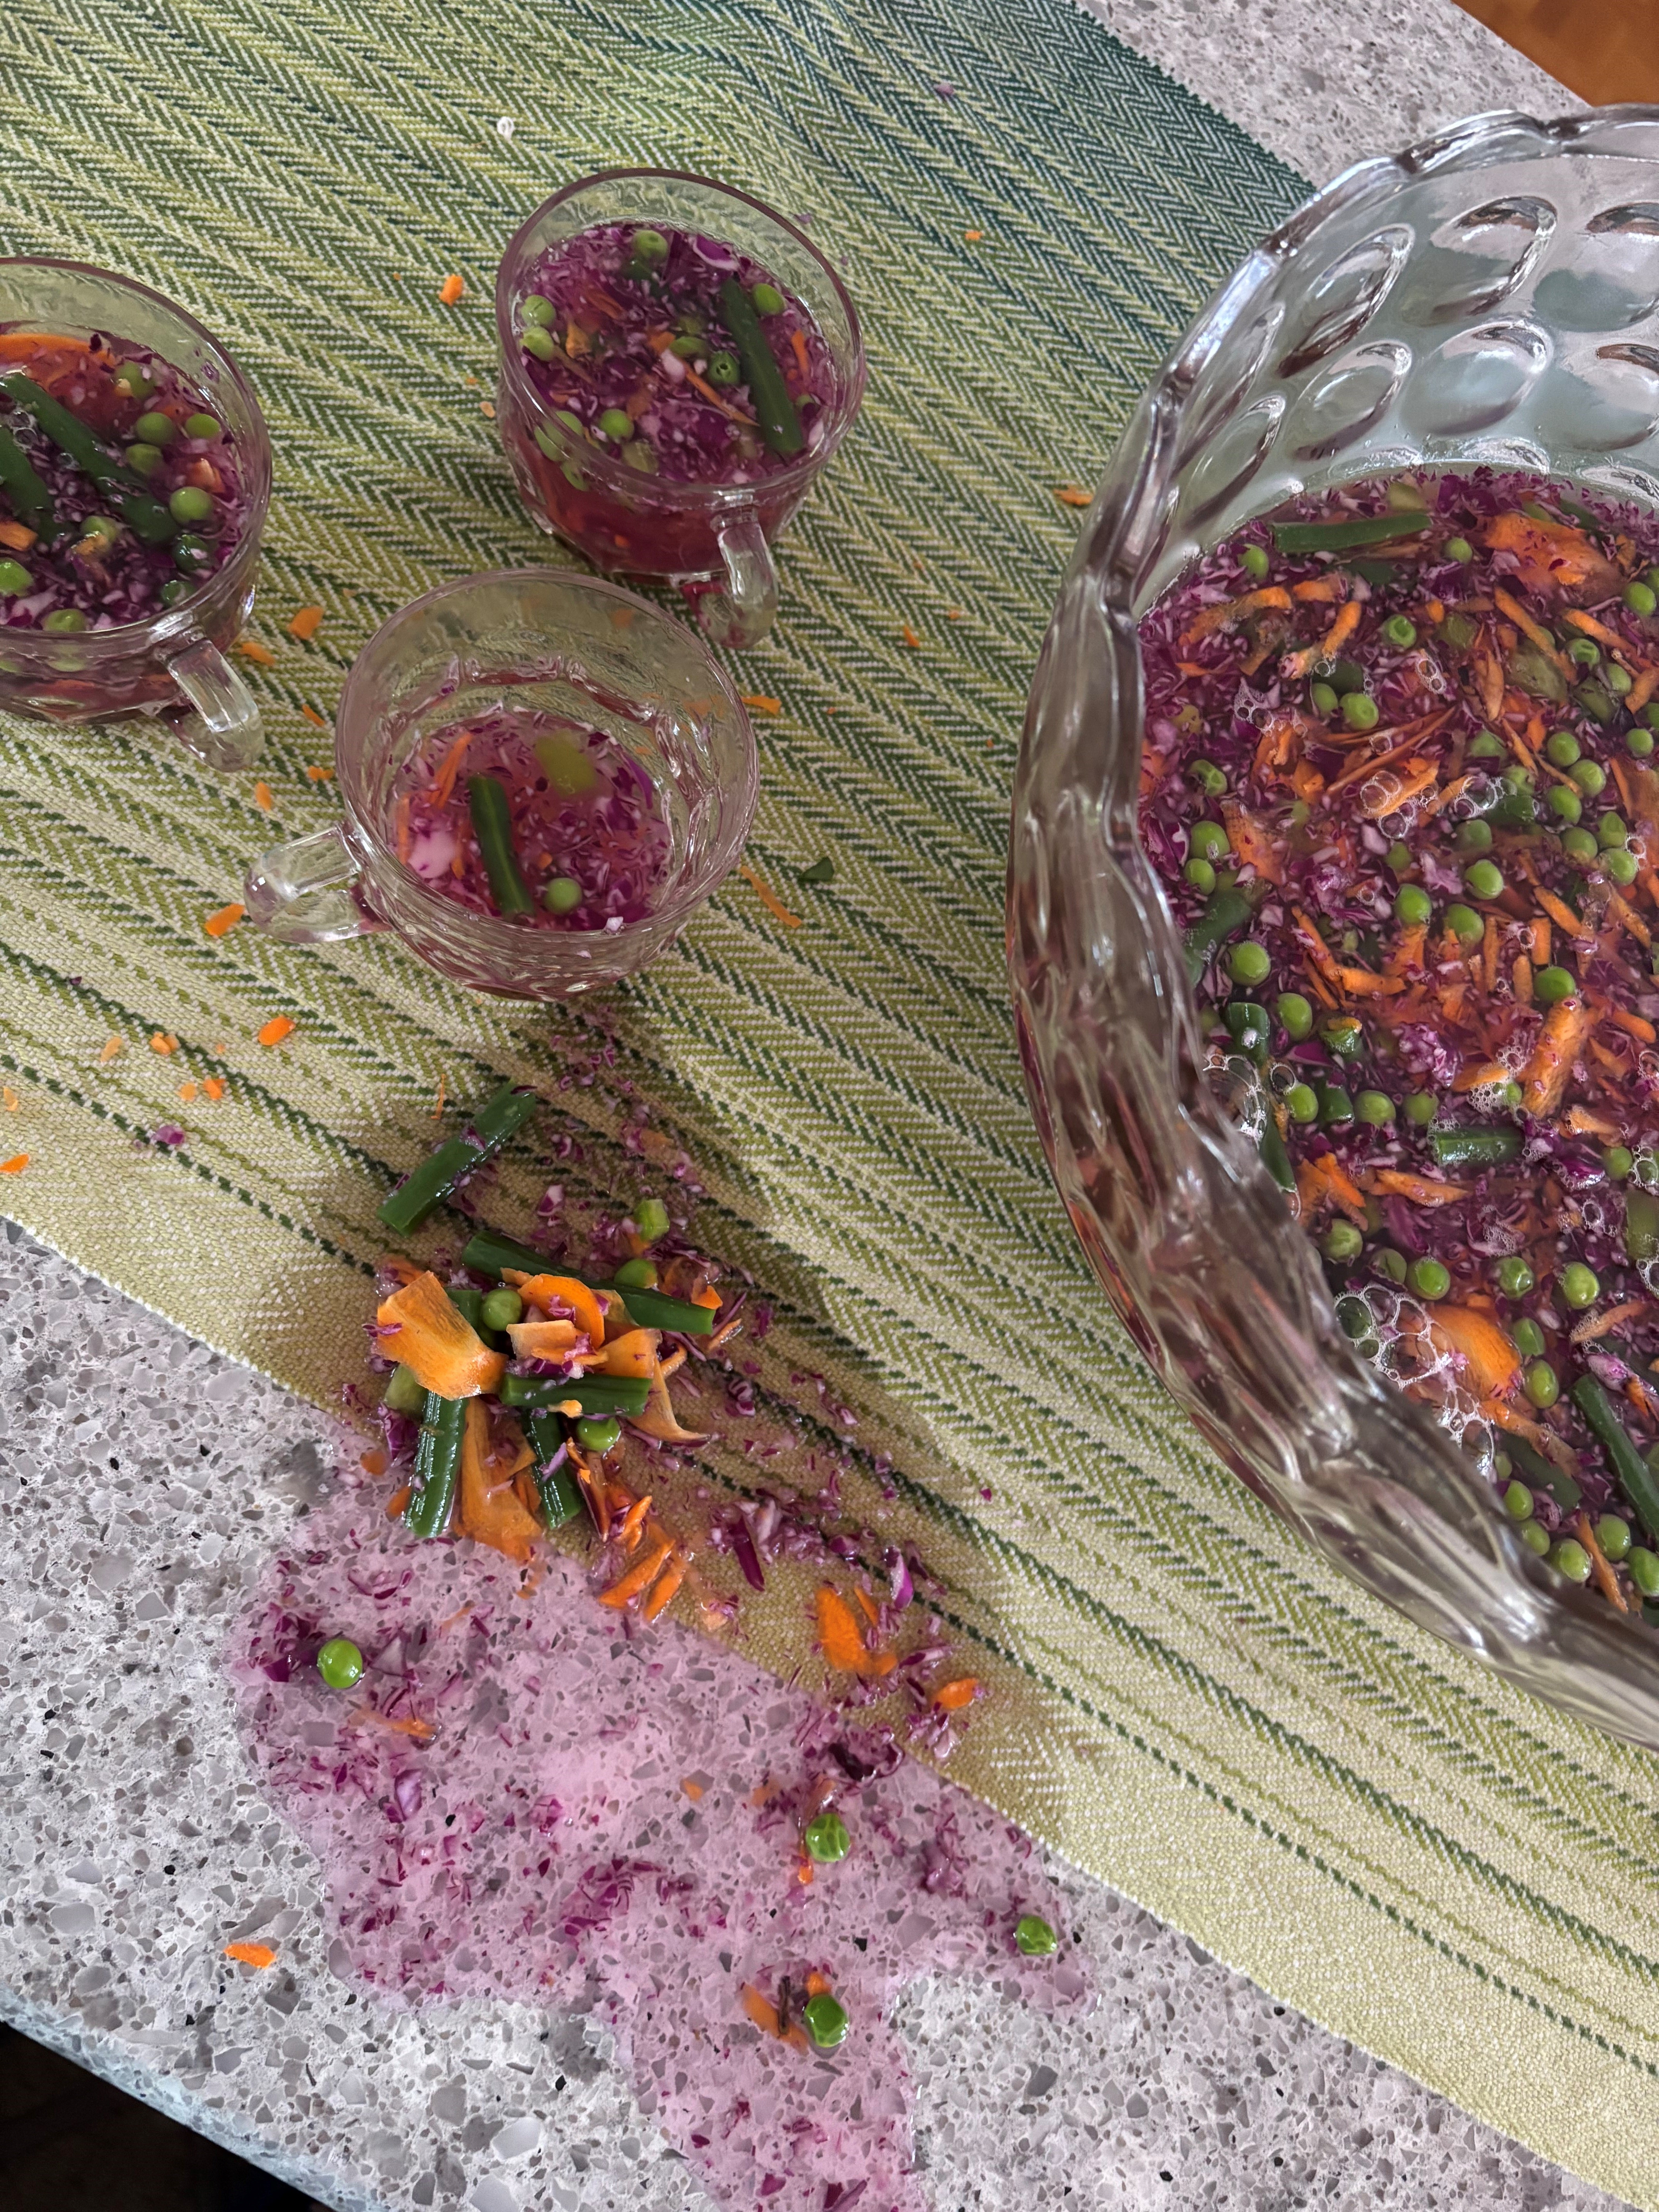
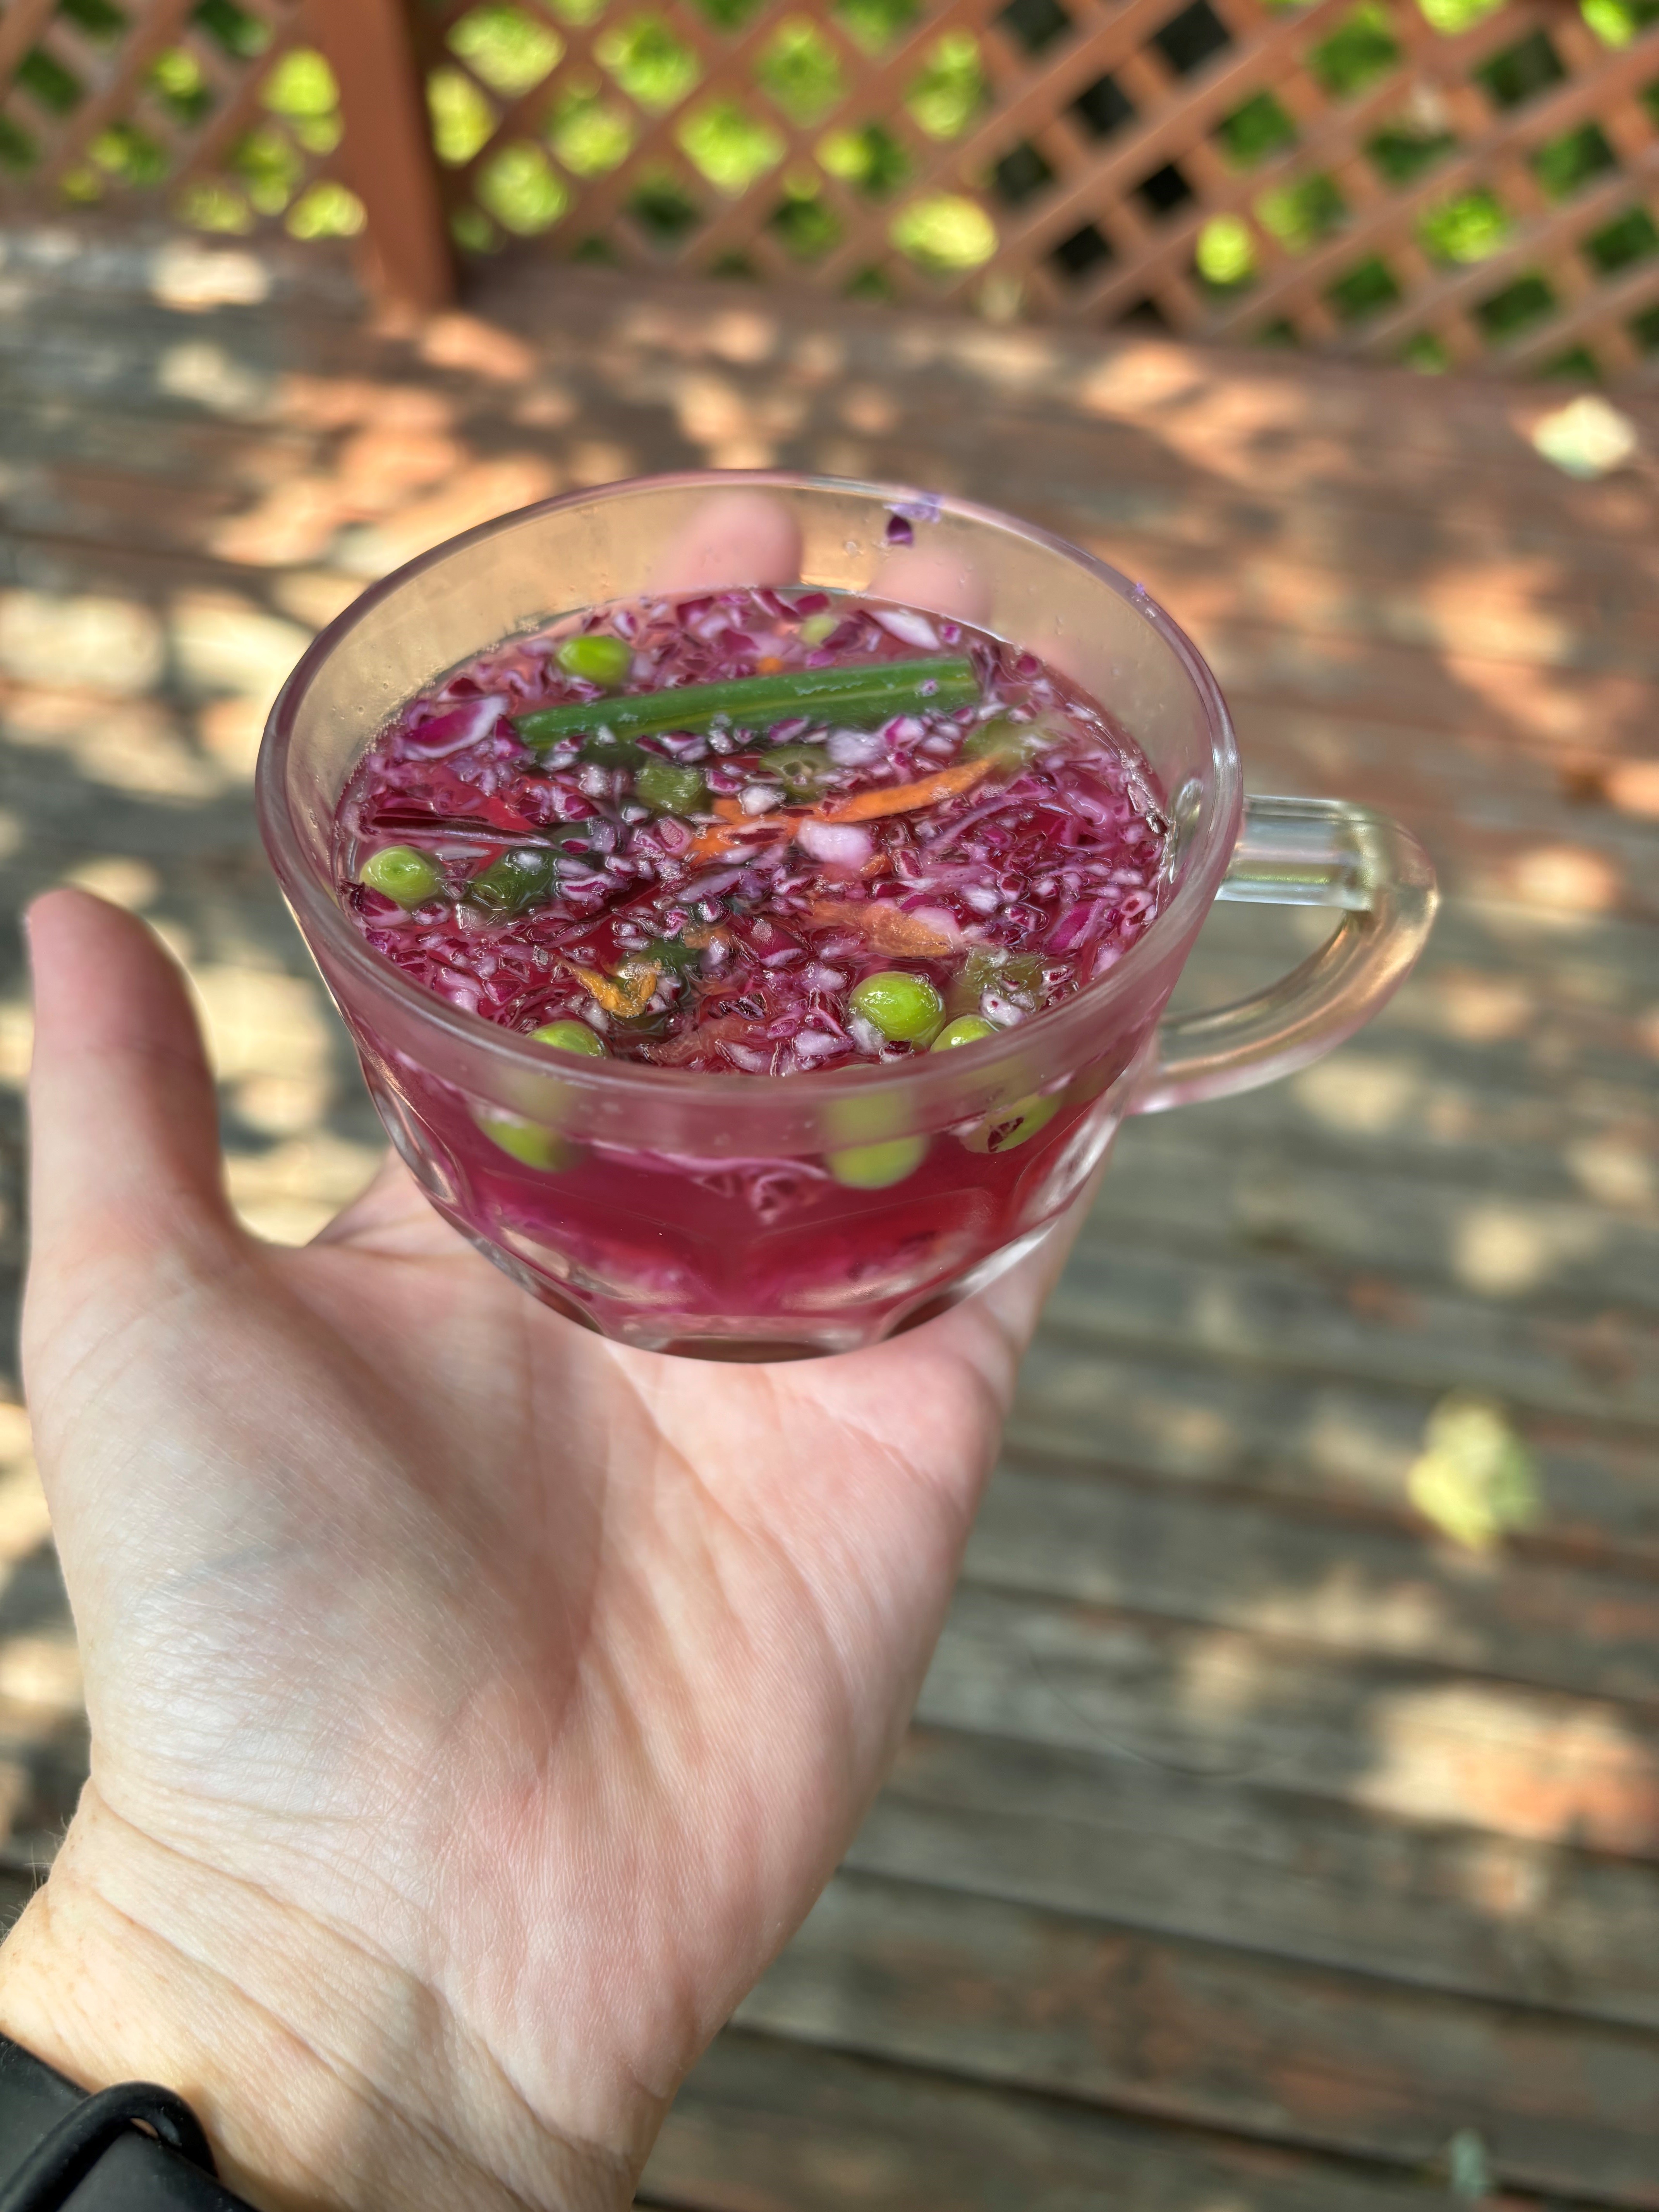
The next day, I brought the finished product to work and had the pleasure of unveiling the dish to my colleagues. Here is the result:
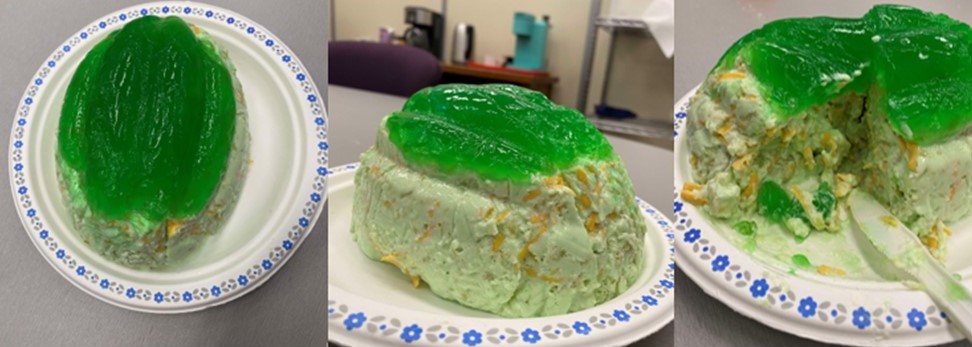
Pineapple-cheese salad. (Photos by Mélanie Gauthier)
The moment the mold was flipped onto a plate, the reveal was met with the sound of worried, and even a little disgusted, “oohs” and “aahs.” I don’t know why, but I expected the final product to be more yellowish than green. I took the first bite in front of my colleagues and was able to encourage another person to try the so-called “salad.” His comment perfectly captured my own impressions. He said, “it is the unholy trinity: disgusting temperature, texture, and taste.”
In the end, only five of us dared to try the dish. The others simply endured the intense smell of cream cheese and the wretched experience of cutting through the gelatin.
This is the first recipe that I do not recommend you try. However, despite this failure, I still believe that it is possible to create a delicious jelly or aspic recipe.
Feel free to share your creations in the comments or by using the hashtag #CookingWithLAC and tagging our social media: Facebook, Instagram, X (Twitter), YouTube, Flickr and LinkedIn.
Additional resources
- In the same series, on Library and Archives Canada’s Blog:
- A pumpkin pie from 1840 by Ariane Gauthier
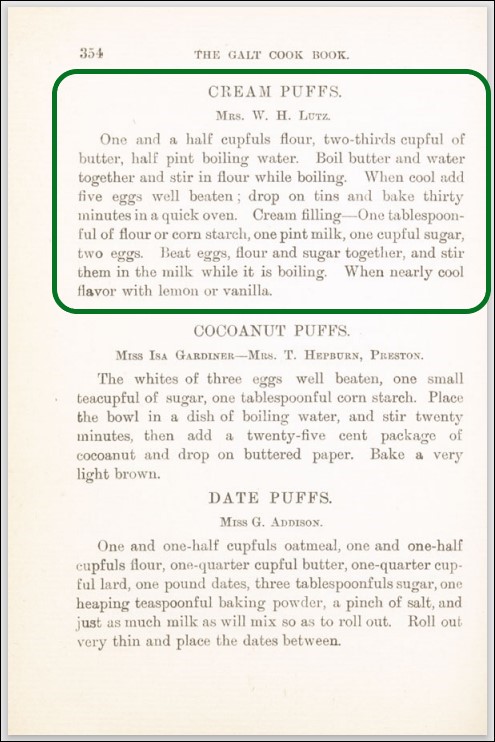
- Cream puffs from 1898 by Ariane Gauthier
- Dutch Apple Cake from 1943 by Ariane Gauthier
- Cheese and walnut loaf from 1924 by Ariane Gauthier
- Sweet Potato Pie: A Timeless Delight from 1909 to Today! by Dylan Roy
- Chocolate Cake from 1961 by Rebecca Murray
- Potato Biscuits from 1917: How the Housekeeper May Help to Save the Country’s Wheat Supply by Ariane Gauthier
- Jellied Vegetable Salad: Less is More! by Rebecca Murray
- Snow Whirl Chocolate Roll from the 1930s by Ariane Gauthier
- Twelve Days of Vintage Cooking, YouTube channel, Library and Archives Canada
- Sifting through LAC’s Cookbook Collection, podcast episode, Library and Archives Canada
Recipe – Pineapple-cheese salad
1 packet of lime-flavoured powdered jelly
1 cup of hot water
1 cup of crushed canned pineapple
1 8 oz package of Philadelphia Cream Cheese
1 8 oz package of Cracker Barrel Old Cheddar Cheese
Curly endive or lettuce
- Dissolve the lime jelly powder in hot water. Drain the pineapple; measure the juice and add cold water to obtain 1 cup. Add to the lime jelly, then pour a small amount (enough to make a thin layer at the bottom) into a 6-cup star-shaped mold, or any other fancy-shaped mold. Leave to cool in the refrigerator.
- Meanwhile, soften the cream cheese. Gradually add the remaining jelly mixture to the cream cheese, stirring until smooth. Refrigerate until the mixture thickens slightly.
- Grate the Cracker Barrel brand cheddar cheese.
- Add the grated cheese and crushed pineapple to the slightly thickened cream cheese mixture. Pour over the firm jelly layer in the mold. Let cool in the refrigerator until the jelly is firm.
- Unmold onto a serving dish. Garnish with curly endive or lettuce.
Serves 6 portions.
Ariane Gauthier is a reference archivist in the Access and Services Branch at Library and Archives Canada


![Cover page of a booklet with the inscription "Mangeons du fromage : Recettes et menus" [Translation: Cheese Recipes for Every Day].](https://thediscoverblog.com/wp-content/uploads/2024/03/image-1.jpg)