Snow Whirl Chocolate Roll from the 1930s

Version française

Cooking with Library and Archives Canada banner

By Ariane Gauthier

Alberta Sugar Makes Delicious Things to Eat is a booklet created by Canadian Sugar Factories some time in the 1930s to promote its production of “pure” Alberta beet sugar. This sugar is refined from thousands of sugar beet farms in the province, and the booklet includes a two-page exposé on the nuances of this farming culture. A great emphasis is put on what was then the most modern of mass-farming technology, likely to legitimize sugar beet farming, which was new and in fierce competition with the very popular (and largely preferred) cane sugar.

Booklet cover with image of a woman pouring sugar in a spoon over a pot. Three mason jars surround the pot on a counter and a bag of sugar is at the front of the image.

The booklet cover of Alberta Sugar Makes Delicious Things to Eat. (OCLC 1007785982)

This booklet is available in Library and Archives Canada’s published collections catalogue Aurora: OCLC 1007785982.

While the history of sugar in Alberta is quite interesting, what attracted me to this booklet was the historical context surrounding the publication of this book: the Great Depression. The booklet mentions that Canadian Sugar Factories started business in 1925, which means they only had about five years before the economic collapse derailed production and profitability. Perhaps this is why there is such a sense of desperation or defensiveness in dispelling misconceptions surrounding beet sugar at the end of its biographical exposé:

Page of booklet with seven points explaining why “beet sugar is the same as cane sugar” and two drawings of a train and a factory.

The cropped second page of The Story of Alberta Sugar, specifically the subsection “Beet sugar is the same as cane sugar,” from the booklet Alberta Sugar Makes Delicious Things to Eat. This is the note on which this corporate “biography” leaves the reader. Notice how points 1, 3, 4 and 7 essentially argue the same thing: that it is impossible to distinguish beet sugar from other types of sugar. (OCLC 1007785982)

Like many cookbooks published during the Great Depression, the recipes have an important emphasis on affordability and longevity: food had to be cheap, and it had to last. However, with this booklet emphasizing Alberta sugar, most of the recipes reflect sweets and pastries, which are decidedly neither of those things.

Nevertheless, I chose this booklet for its aesthetics and because the snow whirl chocolate roll recipe seemed tasty!

The image lists the ingredients and steps to follow for the snow whirl chocolate roll recipe.

The recipe for the snow whirl chocolate roll from Alberta Sugar Makes Delicious Things to Eat. Remarkably, it lists the oven temperature and cooking duration! (OCLC 1007785982)

As I flipped through the pages of the booklet, I noticed there was a section on frosting and icing. In keeping with the spirit of vintage cooking, I decided to pick one of each to pair with the cake: I chose the mountain cream icing for the filling and the fudge frosting for the exterior.

A blue outline indicates the mountain cream icing and fudge frosting recipes that were used for the snow whirl chocolate roll.

Frostings and Icings page from Alberta Sugar Makes Delicious Things to Eat. (OCLC 1007785982)

In both instances I was pleasantly surprised by the number of details that would guide the recipes I planned to undertake. Not only was I given oven temperatures, I was also given cooking times! The only thing I was truly missing was a Fahrenheit or Celsius indication of the “soft-ball” stage, but my handy-dandy candy thermometer filled in the blanks (the answer is about 240 ⁰F or 115 ⁰C). I was then off to the races!

I started by gathering all my ingredients.

Three side-by-side photos of the ingredients from all three recipes, including sugar, flour, cocoa, eggs, milk, etc.

All the required ingredients for the snow whirl chocolate roll (image on the left), the fudge frosting (image in the middle) and the mountain cream icing (image on the right). Photo credit: Ariane Gauthier.

I decided to begin with the snow whirl chocolate roll as it required time to cool down, during which time I would work on the frosting and icing. The first step was sifting all dry ingredients thrice. After, I separated the egg yolks and whites, whipping the whites into soft peaks. Here’s where I went a little rogue: rather than fold the sugar into the egg whites after whipping, I incorporated it during whipping, as this helps to give them more volume.

Four photos of the steps to follow to make the snow whirl chocolate roll.

I carefully cracked all four eggs and used the eggshells to separate the egg yolks from the egg whites. Once this was done, I used an electric beater to whip the egg whites with the sugar until it formed soft peaks. Photo credit: Dylan Roy.

I then made a little mistake: I mixed the egg yolks and vanilla with the dry ingredients rather than the egg white mixture. This ultimately negated the sifting of the dry ingredients, but here’s how I fixed it: I added about half of the egg white mixture and mixed it all together vigorously until no clumps remained. What this effectively did was somewhat defeat the whole point of whipping the egg whites, which was to have an airy and light cake mixture. However, since I only used some of the egg white mixture, I was able to gently fold in what remained and maintain some of the lightness I had previously built.

Six side-by-side photos of all the ingredients being incorporated into a bowl to make a snow whirl chocolate roll.

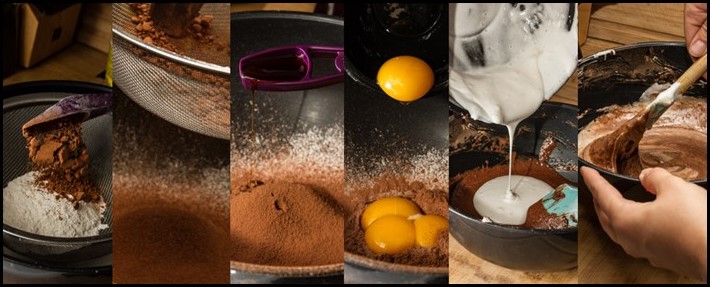
Negating the whole point of sifting the dry ingredients by prematurely mixing in some of the wet ingredients. The steps in order from left to right of how I mixed the dry and wet ingredients together. The last two images show how I salvaged the mix: I used half of the egg white mixture and vigorously mixed it with the dry ingredients until no clumps remained, and then I gently folded in what remained. Photo credit: Ariane Gauthier.

Once this step is done, a cooking sheet with edges is required to cook the cake. This may appear a little thin at first, but you must remember that the cake will eventually be rolled. And so off it went into a 400 ⁰F oven for 13 minutes. Now, it was time for filling and garnish!

Every vintage cooking recipe is a new experience where I’ve at least done one thing I’ve never done before. In this case, I’d never used a candy thermometer, despite owning one for many years. It’s complex and stressful, but in times like these it’s best to just trust the process and believe that Canadian Sugar Factories knew what it was doing in the 1930s!

Two side-by-side images of a thermometer being used while making the mountain cream icing and the fudge frosting. A third image shows the fudge frosting being mixed with a whisk.

Using a candy thermometer to make mountain cream icing and fudge frosting. The candy thermometer had to be held in both instances as the end could not touch the bottom of the pan; otherwise, it would provide a false reading of the temperature. In both cases, the steam produced by both mixtures obscured the reading of the thermometer, making what was already a difficult step even harder. Photo credit: Dylan Roy.

I regret to say that I didn’t do great with the mountain cream icing. I’m unsure whether I pulled it from the heat too early or if I simply let too much water evaporate, but I was ultimately left with a dry and crumbly icing that did not spread well. However, it did taste fairly good on its own.

Comparatively, the fudge frosting fared much better, as I had learned from my mistakes. Though I admit to having been unpleasantly surprised with two unlisted ingredients: butter and vanilla. I advise that any who attempt this recipe have both measured and on hand.

Thirteen minutes later, the cake sheet was ready. Here, again, I must admit to having strayed from the instructions. I’ve made Yule logs before for the holidays and the instructions are very clear: immediately roll the cake sheet tightly in a clean dish cloth sprinkled with powdered sugar and wait for it to cool. Do not add your frosting immediately as the heat of the cake will cause it to melt. You will be left with a gooey mess! I heeded my previous experience and waited for the cake to cool down before frosting.

Seven photos of the steps to roll the cake, add the icing and add the frosting.

Cake rolling and cake frosting. Rolling the cake is easier than one might think; the challenge is knowing how long to let it cool down. While I let it get a tad too dry, the beauty of frosting is that it hides the cracks! Photo credit: Dylan Roy.

The trick with these kinds of cakes is that they have to cool enough to not melt the icing but not so much that they dry out. Unfortunately for me, I waited a little too long, and the cake cracked when I unrolled it. I was able to smear some icing to patch the cracks and was fortunately able to cover the rest up with the fudge frosting. As we say in French: ni vu, ni connu (literally: unseen, unknown)!

Two side-by-side photos of a cross-section of the snow whirl chocolate roll.

Cross-section of the snow whirl chocolate roll cake. As you can see, I didn’t quite have enough icing to fill out the inside completely. Photo credit: Ariane Gauthier.

What do you think?

The cake, icing and frosting were delicious! I brought it into the office and my colleagues were pleasantly surprised. Everyone was more or less in agreement that the best part was the fudge frosting—it could almost have been a dessert on its own!

If you try this recipe, please share pictures of your results with us using the hashtag #CookingWithLAC and tagging our social media: FacebookInstagramX (Twitter)YouTubeFlickr and LinkedIn.

For more content on historical cooking, please consider the following links:
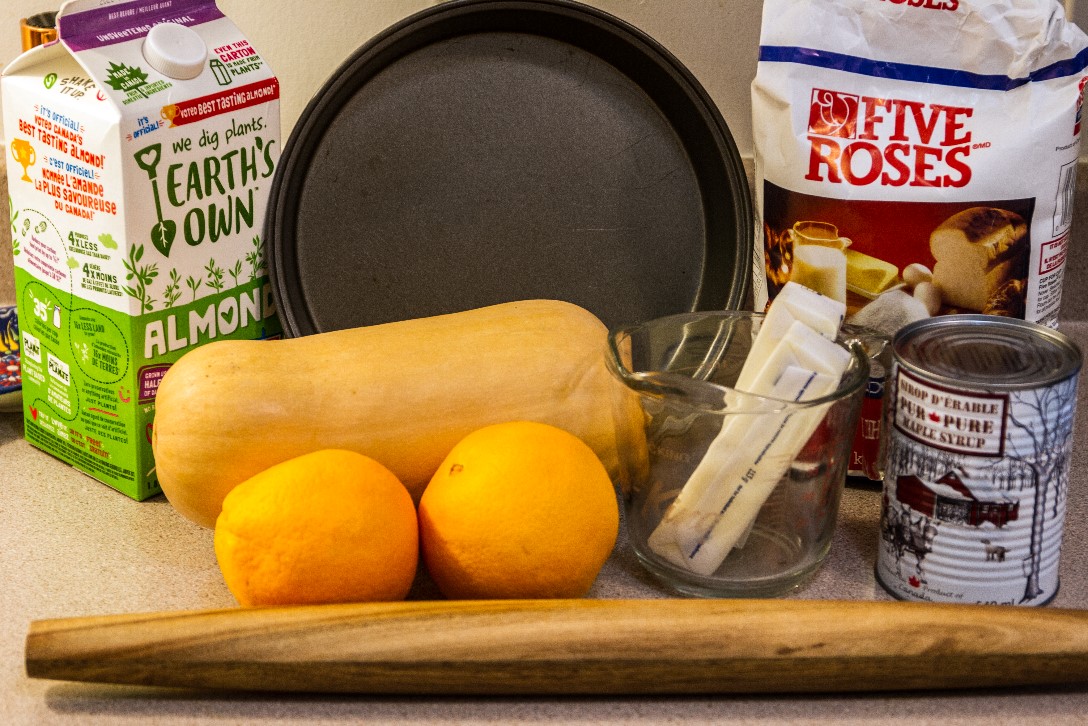
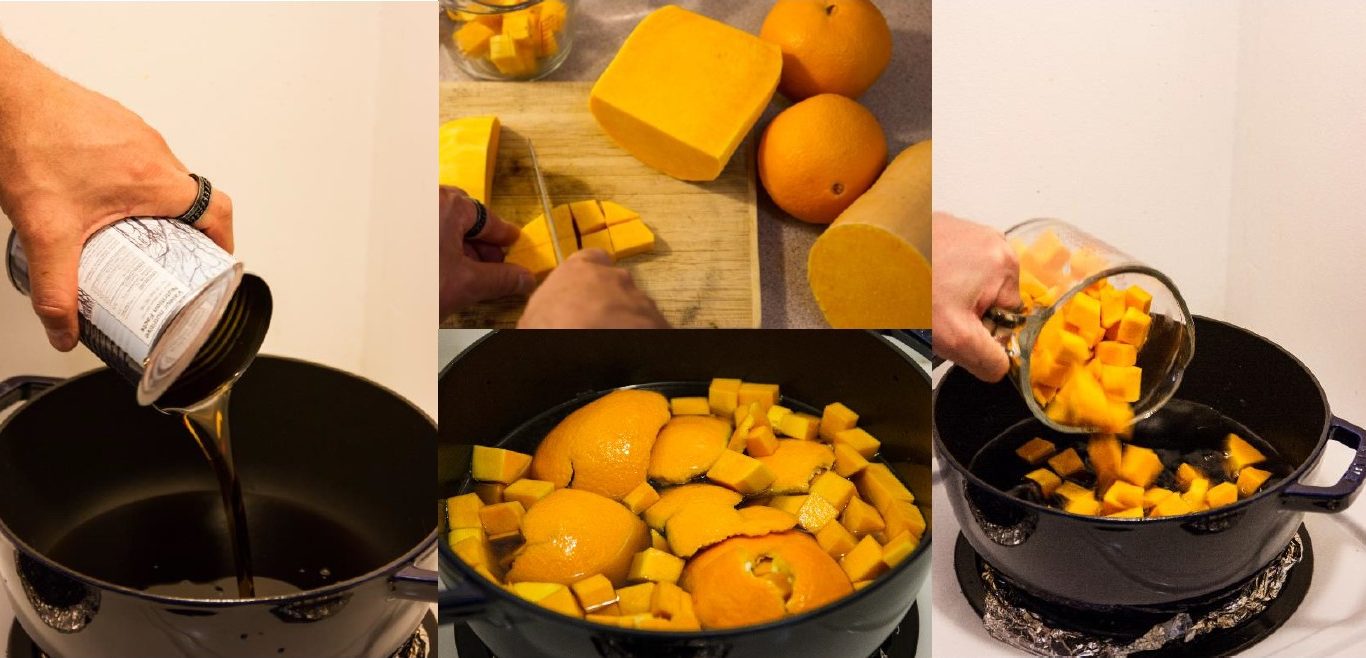
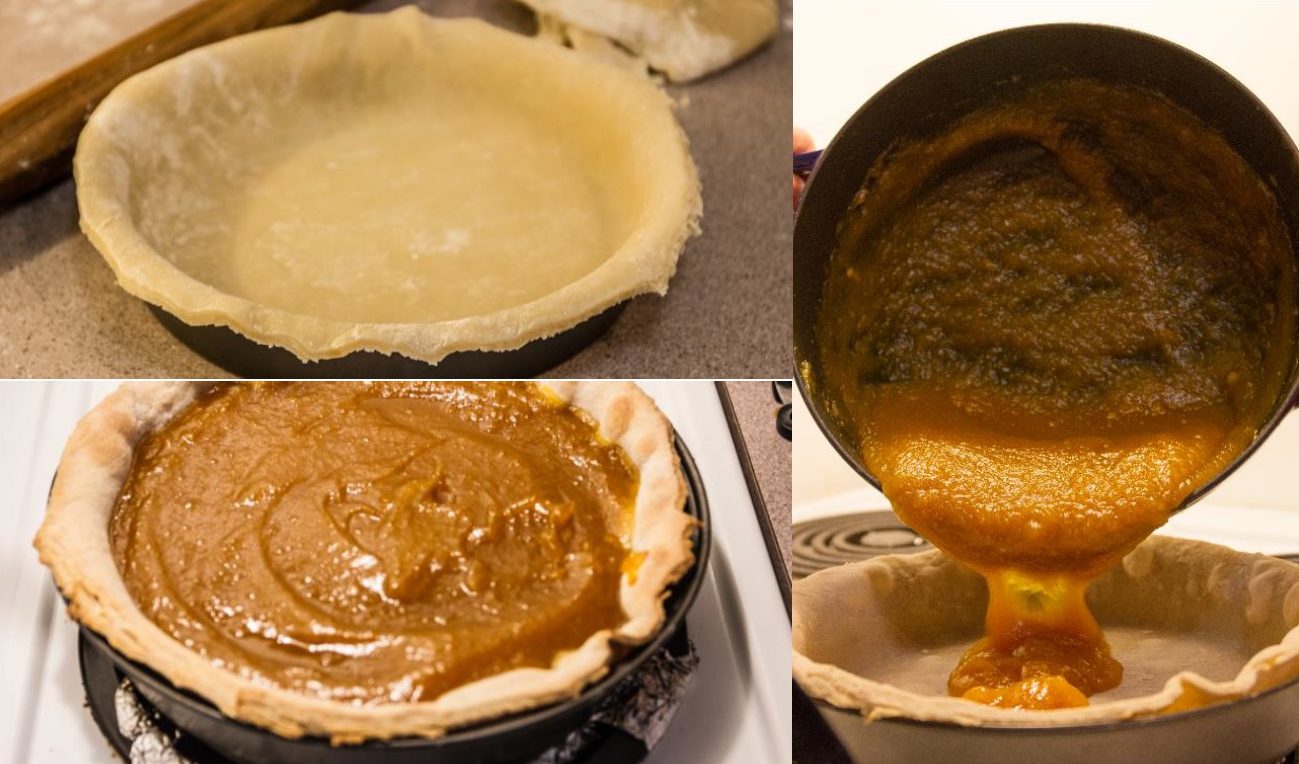
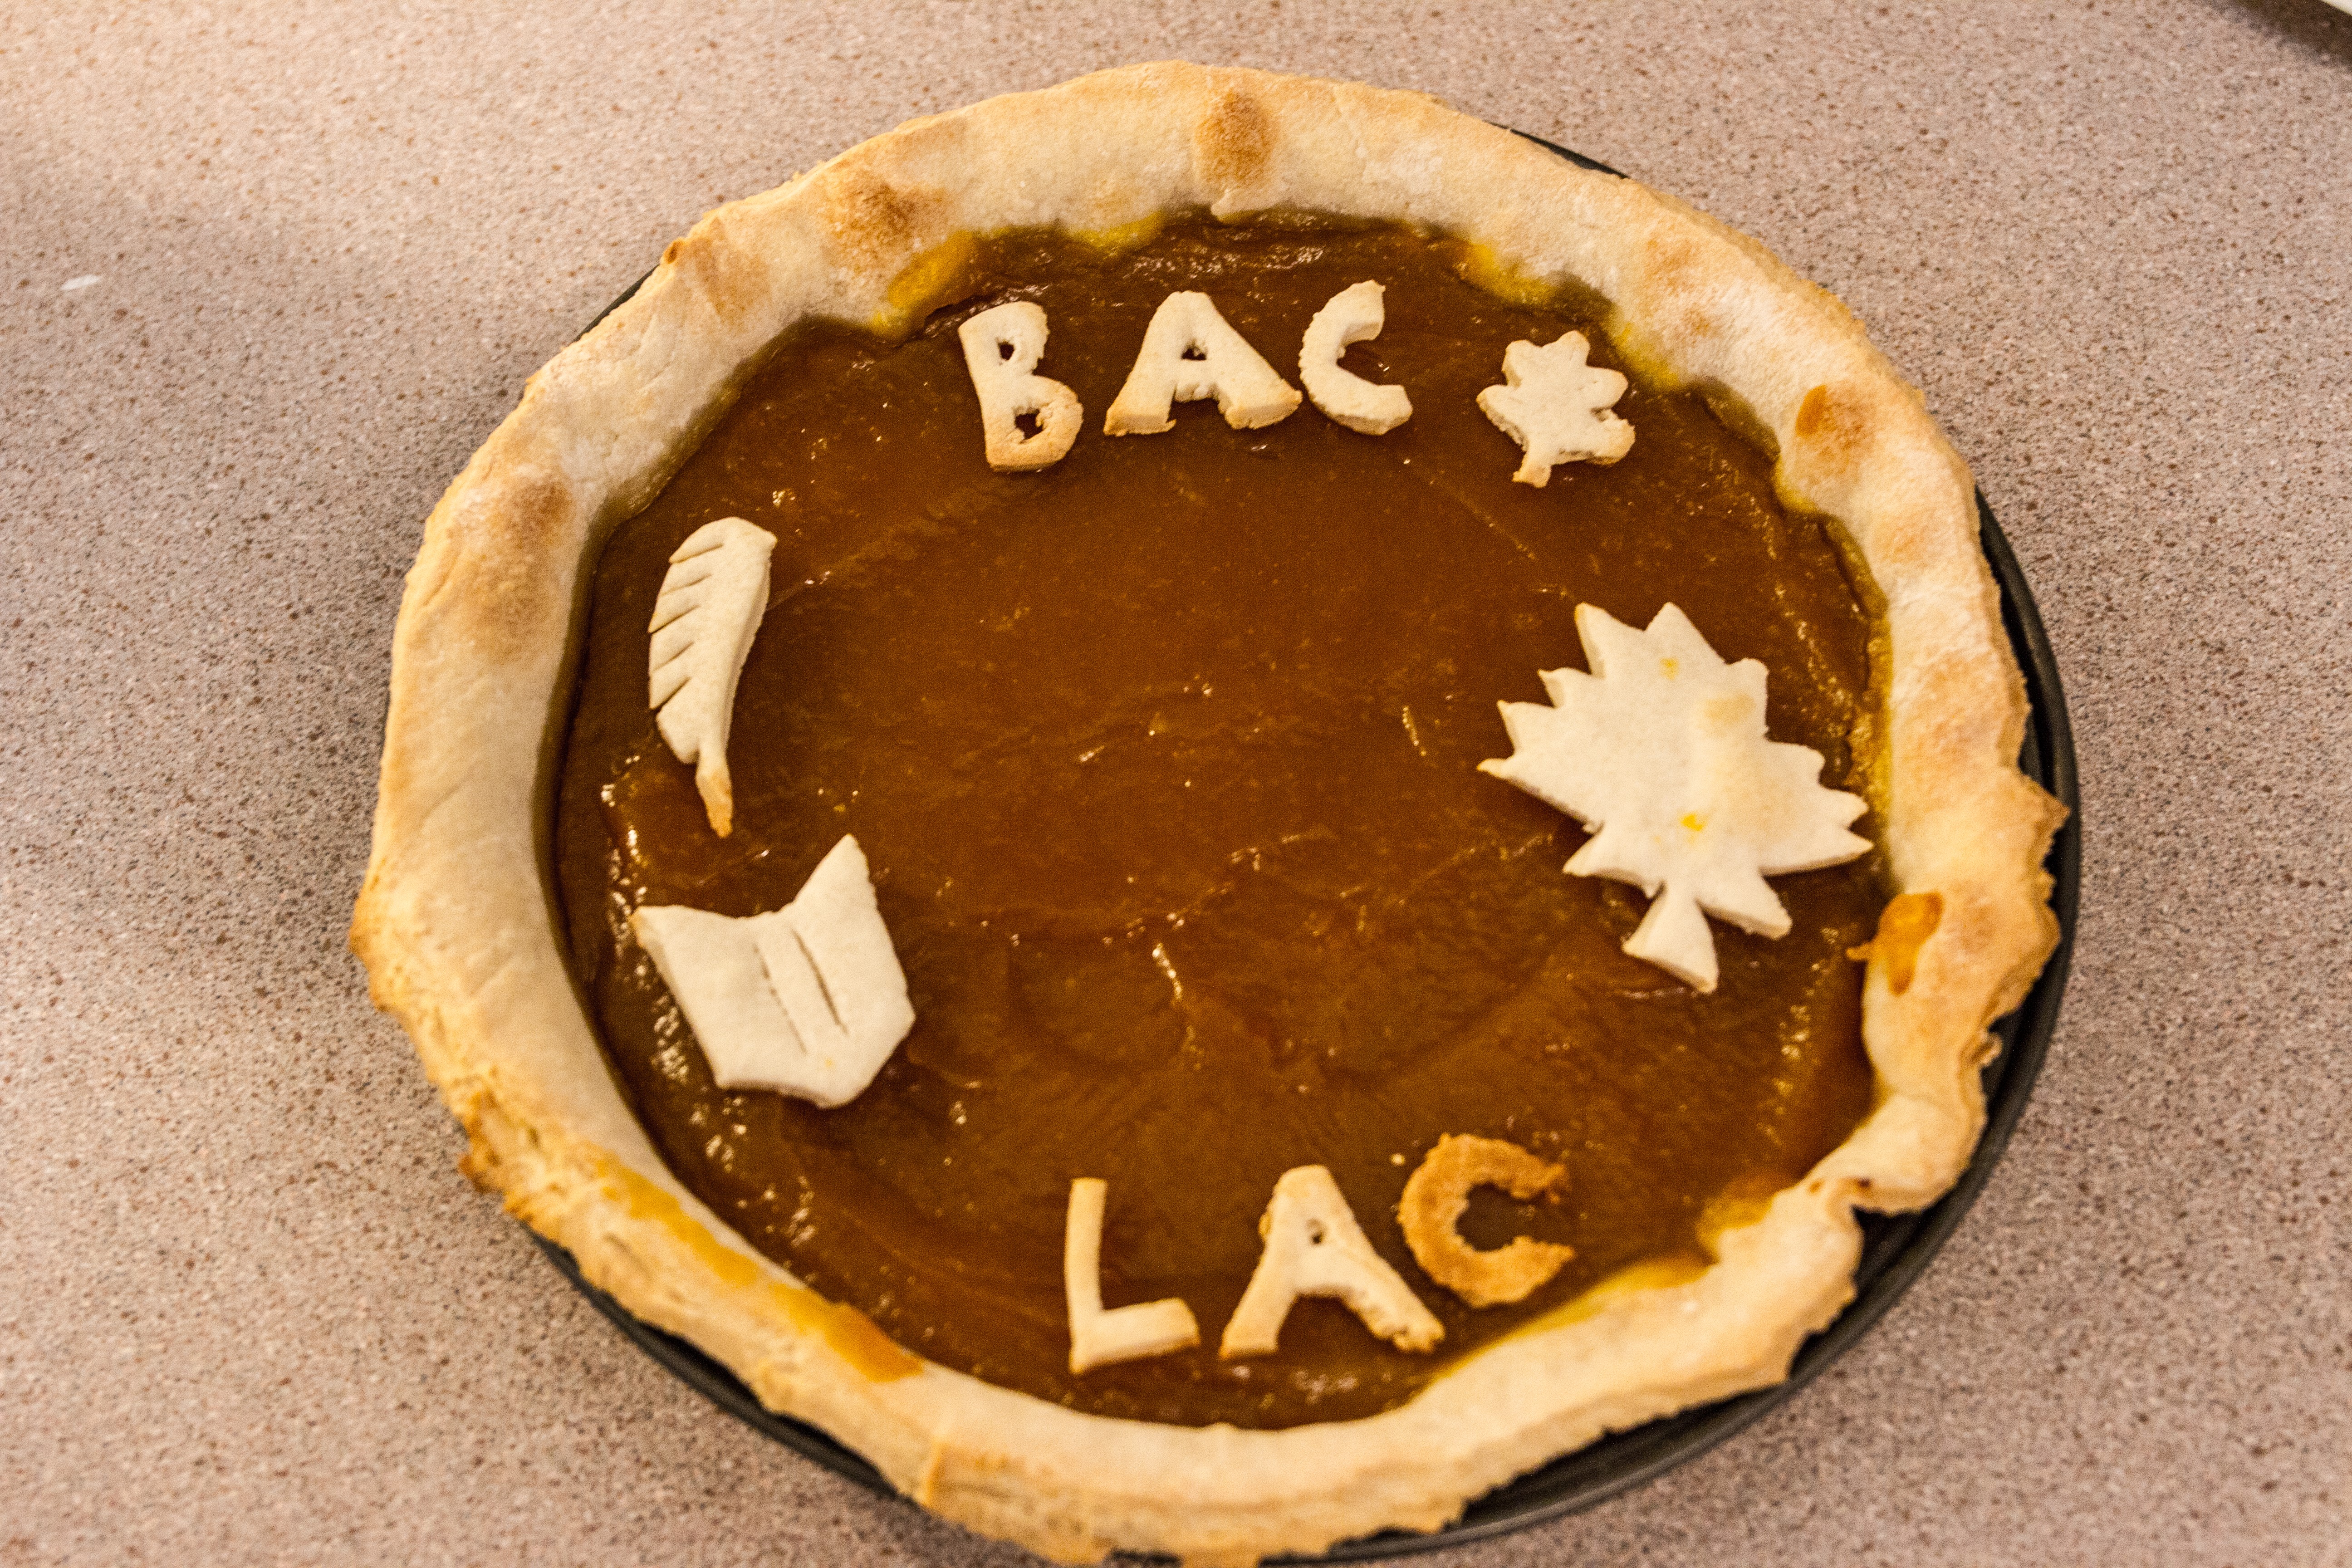

Ariane Gauthier is a Reference Archivist in the Access and Services Branch at Library and Archives Canada.

Cream puffs from 1898

Version française

Cooking with Library and Archives Canada bannerBy Ariane Gauthier

The New Galt Cook Book (1898) is a revised edition of a book that was popular in English Canada, particularly in the Galt region in southwestern Ontario. The publishers claimed that copies were sent to the United States, Egypt, South Africa, India, Australia and China. Like many early cookbooks, this collection offered recipes as well as hints for simplifying domestic chores, and a list of cures for common illnesses.

The book is available online on Library and Archives Canada’s published collections catalogue, Aurora: OCLC 1049883924.

As an amateur cook fascinated by old recipes and the history of cooking, I once again put my skills to the test, and this time I tried to make cream puffs. For my previous attempt at recipes from yesteryear, see my “A pumpkin pie from 1840” blog post.

Now, what needs to be understood when attempting to follow recipes as old as this one is that they differ greatly from the modern recipe format. Much like La cuisinière canadienne, a French-language cookbook first published in 1840, each recipe section begins with a text explaining the overall basics of the recipe type. In the case of cream puffs, authors Margaret Taylor and Frances McNaught decided to include their recipe in the Cookies section.

Page from The New Galt Cook Book with the cream puffs recipe followed by two other recipes.

Page 354 from The New Galt Cook Book by Margaret Taylor and Frances McNaught, Toronto: G.J. McLeod, 1898 (OCLC 5030366).

In the more than 50 years separating the publication of La cuisinière canadienne from that of The New Galt Cook Book, much about Canadian cooking had changed. This is evident in the required ingredients. The recipe for cream puffs calls for flour, butter and eggs for the pastry, and flour or corn starch, milk, sugar and more eggs for the cream filling. The final line in the recipe suggests adding either lemon or vanilla to flavour the cream.

There are two things of note here. The first is the inclusion of granulated sugar, which in 1840 was inconceivable for the lower classes. It was an expensive commodity, largely due to import tariffs that inflated the price. In my blog post about pumpkin pie from 1840, I mention that La cuisinière canadienne offered several alternatives as sweeteners, including syrup and molasses. These were the go-to sweeteners for Canadian cooks in the 1800s, until the 1885 Tariff Act came into effect and lifted the import tariffs on cane sugar. In the subsequent five years, the cost of sugar gradually became comparable to the cost of syrup and molasses. After 1890, sugar became the most popular sweetener because it was the cheapest.

The second item of interest is lemon as a flavouring option. In my pumpkin pie from 1840 blog post, I mention that La cuisinière canadienne suggested the inclusion of orange in the pumpkin filling. This was somewhat strange, as oranges were not imported as widely across Canada as they are today. However, given that La cuisinière canadienne was published in Montréal, which was the major commercial port of Canada at the time, access to this then-elusive ingredient was understandable. In comparison, Toronto was just at the start of its development. In the 50 years that followed the publication of La cuisinière canadienne, Toronto boomed into a metropolis, fueled by railway developments linking it to important North American cities like Montréal and New York City. As more railways connected Toronto more fully to the world, its commerce also diversified. In this case, lemon as a flavouring option is reflective of Toronto’s and Canada’s overall development. The lemon became a fruit accessible to cities located inland as transportation technology improved. This allowed for its distribution across greater distances, in climates not suited for local production.

With these interesting facts in mind, I gathered my ingredients and got to work.

Eggs, vanilla extract, milk, sugar, flour, margarine and lemon.

The ingredients for the recipe. Courtesy of the author, Ariane Gauthier.

I started with the cream puff pastry. Fortunately, unlike for the pumpkin pie, there was much less guessing this time around, as The New Galt Cook Book gives fairly precise measurements: “One and a half cupfuls flour, two-thirds cupful of butter, half pint boiling water. Boil butter and water together and stir in flour while boiling. When cool add five eggs well beaten; drop on tins and bake thirty minutes in a quick oven.”

Six photos showing the steps in making the dough: breaking eggs in bowl, stirring flour in another bowl, adding flour to boiling water and butter in saucepan, stirring saucepan ingredients, adding beaten eggs to cooled batter in saucepan, and stirring batter in saucepan.

Creating the cream puff pastry as described in The New Galt Cook Book. Courtesy of the author, Ariane Gauthier.

I needed to pipe the dough onto a lined baking sheet. Since I lacked a piping bag, I settled on the trick of using a reusable bag and snipping off the end. To transfer the dough more easily into the reusable bag, I used my coffee maker as a receptacle. Unsure of what exactly qualified as a “quick oven,” I settled for 400°F on convection and, as with the pumpkin pie, used my eyes and nose to determine when the pastry was done.

Three photos showing the steps in making the puffs: filling a reusable bag with batter, consolidating batter, and piping batter onto baking sheet.

Piping the cream puffs and getting them ready for the oven. Courtesy of the author, Ariane Gauthier.

Once the anxiety of baking the cream puff pastry was settled, I worked on the custard. Having made custard previously, I felt much more comfortable with this procedure. Once again, The New Galt Cook Book is precise: “Cream filling – One tablespoonful of flour or corn starch, one pint milk, one cupful sugar, two eggs. Beat eggs, flour and sugar together, and stir them in the milk while it is boiling. When nearly cool flavor with lemon or vanilla.”

Three photos showing the steps in making the cream filling: adding sugar to eggs and flour in bowl, pouring mixture in bowl into saucepan containing milk, and stirring filling in saucepan.

Preparing the cream filling as described in The New Galt Cook Book. Courtesy of the author, Ariane Gauthier.

The only piece of advice that I would add, based on my previous experience, is to be careful once you combine the egg, flour and sugar mixture with the milk. It is best to temper the mixture by adding a little of the boiling milk, whisking vigorously as you do so. This elevates the temperature of the mixture and allows for a smoother transition to the whole of the boiling milk as opposed to simply shocking it. Once the mixture is added to the boiling milk, it is important to whisk it constantly until it thickens; otherwise, you will wind up with sweetened scrambled eggs!

As for the flavouring, I chose to divide the custard, and flavoured one with vanilla extract and the other with lemon zest.

Finally, The New Galt Cook Book abandons the cook in the final phase of the recipe: the assembly. Knowing what a cream puff is supposed to be was extremely helpful here. The pastry is meant to be filled with the custard, so I put the custard in a reusable bag and snipped off one of the edges, since I do not own a piping bag. Before inserting the custard, I made an X-shaped incision at the bottom of each cream puff pastry to make the insertion easier.

One photo showing the cream filling being added to a puff, and another of the final product: a cream puff.

A filled cream puff. Courtesy of the author, Ariane Gauthier.

What do you think?

I was surprised by how well the cream puffs turned out, all things considered! These puffs are much lighter than contemporary cream puffs and allow for ample filling. I brought them to a Reference Section gathering, and my colleagues quite enjoyed them. This shows that, once again, these old recipes can stand the test of time!

If you try this recipe, please share pictures of your results with us using the hashtag #CookingWithLAC and tagging our social media: Facebook, Instagram, X (Twitter), YouTube, Flickr and LinkedIn.

Additional resources


Ariane Gauthier is a Reference Archivist in the Access and Services Branch at Library and Archives Canada.

A pumpkin pie from 1840

Version française

Cooking with Library and Archives Canada banner

By Ariane Gauthier

La cuisinière canadienne, published in 1840, is one of the first cookbooks—perhaps even the very first—written and published in Canada. Its author wrote it for both professional cooks and the general public. This book marks the beginning of French-Canadian cuisine as such. In terms of style and content, it is intended to be efficient, seeking to encourage “wise home economics […] suited to the budgets of Canadian families.”

This book is available online (in French only) through Library and Archives Canada’s Aurora catalogue (OCLC 1140071596). Simply click on the “Access Online” button on the right side of the page in the “Retrieval Options” box.

The title page of La cuisinière canadienne (OCLC 1140071596).

To accompany the book, I found Yannick Portebois’s review of La cuisinière canadienne (which can be read for free on Érudit, in French only) very useful. It helps modern readers understand the measurements used at the time and the technical language that is no longer used today. It also presents the historical context in which this book was written. It was a key moment for the formation of Quebec’s cultural identity, with one foot in its French past and the other in the new reality of an ever-growing Anglophone population. Yannick Portebois noted the francization of certain English words and the use of bourgeois terms that would mark the vocabulary of Quebec’s emerging cuisine.

The challenge

As an amateur cook, I decided to take on the challenge of cooking a vintage recipe proposed in this book.

The first thing to understand is that recipes of the past, especially those that date back to the mid-19th century, are not written as they are in books today. There is no complete list of ingredients, quantities are approximate and recipes are presented in essay form. La cuisinière canadienne provides alternative ingredients, as needed. The goal was not to create recipes like the ones readers of today want, but to communicate the basic principles so that cooks can manage on their own. In a way, La cuisinière canadienne determines the destination, but it is up to us to choose how to get there—that is, the ingredients, quantities and technique.

Three pages of La cuisinière canadienne explaining certain cooking terms.

The pages of La cuisinière canadienne that were most helpful to me in preparing my recipe (OCLC 1140071596).

My first challenge was to write the recipe, because La cuisinière canadienne does not provide a complete recipe for pumpkin pie. Chapter X contains a recipe for pie dough (or shortcrust pastry) with only the vague indication of adding the jam of our choice to bake a pie.

To do so, it was necessary to read chapter XI on jams. Originally, I was hoping to make a good sugar pie, but La cuisinière canadienne does not provide any recipe for cream sugar or maple filling. So I settled for a pumpkin pie, which I thought was a good substitute.

Almond milk, squash, oranges, butter, flour, maple syrup, measuring cup, pie plate and rolling pin.

Ingredients and materials used by the author to make the pumpkin pie from La cuisinière canadienne. Credit: Ariane Gauthier.

Once the recipe was written, the ingredients had to be gathered. The pie dough required flour, butter (melted) and milk (hot). La cuisinière canadienne says to mix everything until a dough is formed. Given the lack of more specific information, I relied on my existing knowledge. In recipes that I’ve followed before, the pie dough was very dry. Therefore, I added flour to a cup of melted butter and a cup of hot milk until I had a dry dough.

I confess that I did not measure the quantity. The idea is that the dough should barely hold together.

Then, I worked the dough so that everything was fully incorporated. I laminated it—that is, flattened it with a rolling pin before folding it on itself—and I repeated this over and over again until the dough became smooth and uniform. After that, I delicately placed the dough in a pie plate and cut off the excess. Usually, the dough should be perforated to make sure it does not inflate and baked a little to prevent the filling from soaking it. That is what I did before baking it for five minutes at 350°F.

Maple syrup, diced squash and orange peels in a pot on the stove.

Combining ingredients for pumpkin jam. Pumpkin cubes are boiled in syrup with orange peel for three hours. Credit: Ariane Gauthier.

In the meantime, I followed La cuisinière canadienne’s instructions for pumpkin jam. Basically, I had to stew pumpkin in an equal amount of syrup (or molasses) for three hours. I could also add orange or lemon peel to enhance the taste. Unfortunately, because it was not pumpkin pie season, I had to settle for a butternut squash. I chose maple syrup because it was the affordable option for cooks of the time. It was only after 1885 and the passage of the Tariff Act that maple syrup became a luxury product, with the price of cane sugar suddenly falling. In subsequent years, laws and measures protecting the maple products industry and the purity and quality also affected the price of syrup.

Due to the technological advances that have taken place since the publication of La cuisinière canadienne, I only had to wait about an hour and a half before the butternut squash was tender. I blended everything to obtain a more uniform jam, keeping the orange peel for taste. It was for better or worse, depending on taste, because this choice made the pie taste more of orange than anything else. Warning for the intrepid bakers who will try to cook their own pumpkin pie from 1840: it may be better to remove the peels!

Three photographs showing the pie being put together: the dish with the dough only, the filling being poured onto the dough and the final dish before cooking.

Putting the pie together. Once the dough has been pre-cooked for a few minutes, the pumpkin jam is added, and the whole thing is put back in the oven to finish cooking. Credit: Ariane Gauthier.

Finally, I poured the jam onto the dough and baked the pie, still at 350°F. To determine when the dough was baked, I relied on my nose and my eyes. Here is the final result. What do you think?

Photograph of the pie fresh out of the oven. Leaves, a feather, a book and the words BAC and LAC in dough are placed on the top of the pie.

The pie after it finished baking. After it visited Reference Services the next day, not a crumb was left. Credit: Ariane Gauthier.

My colleagues obviously loved it, especially my supervisor, who ate three slices. This recipe, although very different from our contemporary recipes, still seems to be appreciated!

The New Galt Cook Book – 1898

Cover page with the title The New Galt Cook Book and an illustration of a woman with an apron holding a dish containing food.

Cover page of the cookbook The New Galt Cook Book (OCLC 1049883924).

Although I have discussed a recipe from La cuisinière canadienne, its Canadian English equivalent is also noteworthy. The New Galt Cook Book was essential in English-Canadian kitchens. This is a new edition of a popular book, especially around Galt, in southwestern Ontario. The publishers said that copies of the book were sent to China, Egypt, India, South Africa, Australia and the United States. Like many old cookbooks, this book includes recipes, suggestions for simplifying household work and a list of remedies for common diseases.

If you try your luck with the pumpkin pie from 1840 or any other recipe from La cuisinière canadienne, please share your results on Library and Archives Canada’s social media accounts: Facebook, Instagram, X (Twitter), YouTube, Flickr or LinkedIn, using the hashtag #CookingWithLAC and tagging our social media.

Other Library and Archives Canada resources


Ariane Gauthier is a Reference Archivist in the Access and Services Branch at Library and Archives Canada.